No products in the cart.
Hi and welcome to out latest blog.
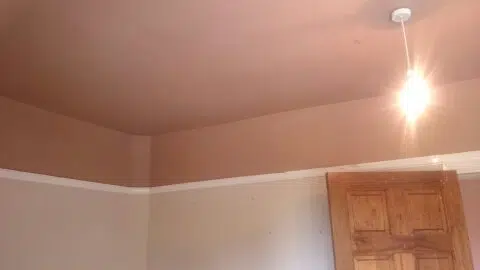
Today’s blog is going to cover a popular topic of skimming over existing artex textured ceilings.
The ceilings are a heavy combed pattern and we will also be doing the area about 400mm down called the Frieze.
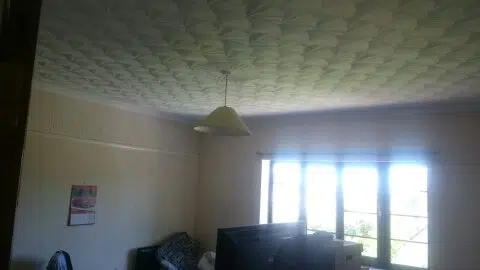
Artex was very popular in the 70s,80s & also 90s, nowadays the fashion people tend to want is a plain flat ceiling which is where many domestic plasterers can find a niche market.
Earlier Artex tended to be made containing asbestos so its always best to do some research first before we go dismantling the ceilings.
Later Artex ceilings are manufactured from a safer more friendly material.
Its Better to be safe than sorry though so get that dust mask on whilst prepping the ceiling.
As with any domestic property its good practice to get your dust sheets down. We all heard some sort of story where the customer tells you the carpets are being replaced only to later make a claim for stained carpets…. Nope that won’t happen here ! get the sheets down, that’s why we have them.We use the larger square shaped ones for the main rooms and the narrow dust sheets which are perfect for stairwells and hallways.


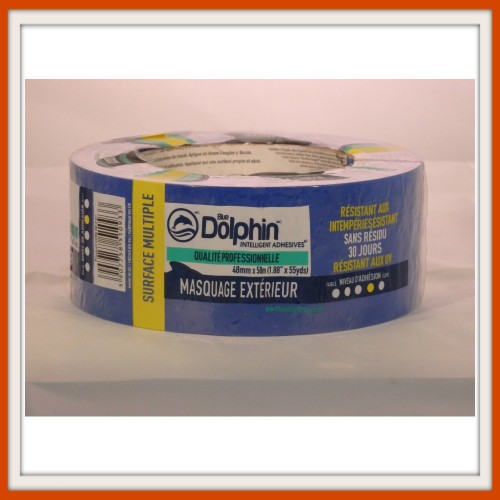
You can secure them down if you like with some staples if theres a carpet to stop them kicking up and causing a nuisance. The staples wont be seen through the carpet, if its a wooden floor i recommend a double sided tape or a wider dolphin tape.
Sometimes its a good idea to use a roll out adhesive carpet protection or some corex type boards particularly around the mixing area. Things can get a bit wet during skimming and we don’t want any surprises whilst we’re cleaning up after completing a mint ceiling.
So down to business. Have a look across at the ceiling from off your steps, stilts or hop up and just check its in generally flat condition . If its in a delicate condition or. had a leak previously or the boards have sagged its best to re plasterboard the ceiling. We will cover that in an other blog.
Ok so the ceiling is flat enough for a skim coat lets prepare the surface.
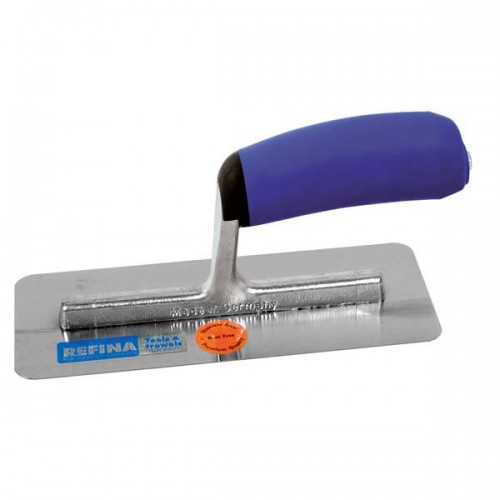
Often with texturing the surface will have high and low spots. The best solution is to get an adequate scraping tool and scrape the entire surface. A rendering nail float is an ideal tool to do this. The sharp nails make light work of the texture and can leave a ceiling ready free of lumps and bumps and ready for priming.

Ceiling roses and switches look awful when plastered in so we will now take the time to remove these from.the ceiling in order to skim behind the fittings. Always use an electrician if you’re unsure or ask the customer to have them removed ready for your arrival.
Next we prime the surface we are wanting to plaster. We have a few options here all depending on what experience you have had. There are lots of plaster bonding priming paints available that need to be left to dry before plastering application. I have found the best method of application for these primers is to spray using a hopper gun. mask the areas not being done up nicely including any fittings and spray an even coat today however we like the old school method of pva. The ceilings are usually painted with several coats of paint over the years so a coat of neat pva is rollered on and left to go tacky before the application of skim plaster. Alternatively you can apply a coat of PVA watered down approx 5 to 1 the day before to stabilize the surface.
Application of plaster too soon after the pva is applied can cause the first coat of plaster to slide when the second coat of plaster is applied over it so be patient have a brew if need be. We are looking for a tacky sticky feel to the PVA.
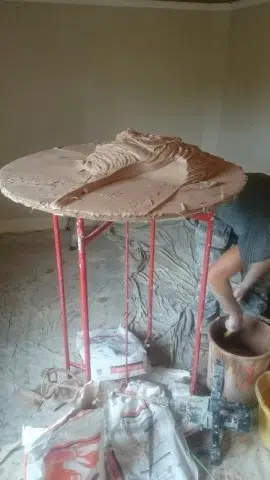
Our spot and stand is set up,for the ceilings we use our taller 50 ” spot stand so we can fill our hawk easily.
Next up we have a mixing area and we fill our water buckets ready for mixing. Usually a 5 gallon bucket of water will mix a bag of skim.
The Refina 50 litre 2 bag mixing bucket is suitable for this job as the first coat will be applied quite heavily. The area is about 20 m2
The Refina 1800 watt with 140 mm paddle is an awesome machine to mix this skim and we also use the COLLOMIX bucket clean to quickly wash the mixing paddle straight after the gear is mixed
Its on with the stilts after choosing the correct height,place a clean water bucket at a suitable height on a hop up or window sill.
The ceiling we are doing today is approximately 25 mts 2 so the 20 ” marshalltown gold trowel needs to come out. The 16″ hawk is also most suitable here.

We lay the ceiling on in a uniform manner squeezing the skim in nice and tightly over the textured surface, starting in a corner working a band of skim outward across the width of the ceiling then turning 180° and laying the next band of skim plaster into the previous wet edge. We continue to do thin until the skim is all on.
The Beroplastic plaster blade or Refina plastic blade roll grip spatula is used here to flatten the plaster down prior to a second coat. The plastic flexible blade helps reduce lines caused with the less flexible trowel
Once mixed, a second tighter coat of skim is applied. On this coat we apply the plaster much neater trying to reduce trowel lines and leave the ceiling almost finished. Once the ceiling is completely applied we scan for any bits we may have missed for example if we couldn’t get in anywhere with our 20″ trowel. We choose an appropriate trowel to complete any laying on.
Its nice at this stage to drop the spot stand out of the way and using a Skimming Spatula which is nice and flexible we trowel the ceiling from one side to the other to leave a nice flat surface. I like to trowel at 90° to the incoming light from a window or door.
If you have any internal angles squeeze them through the Internal twitching trowel to get them nice and square

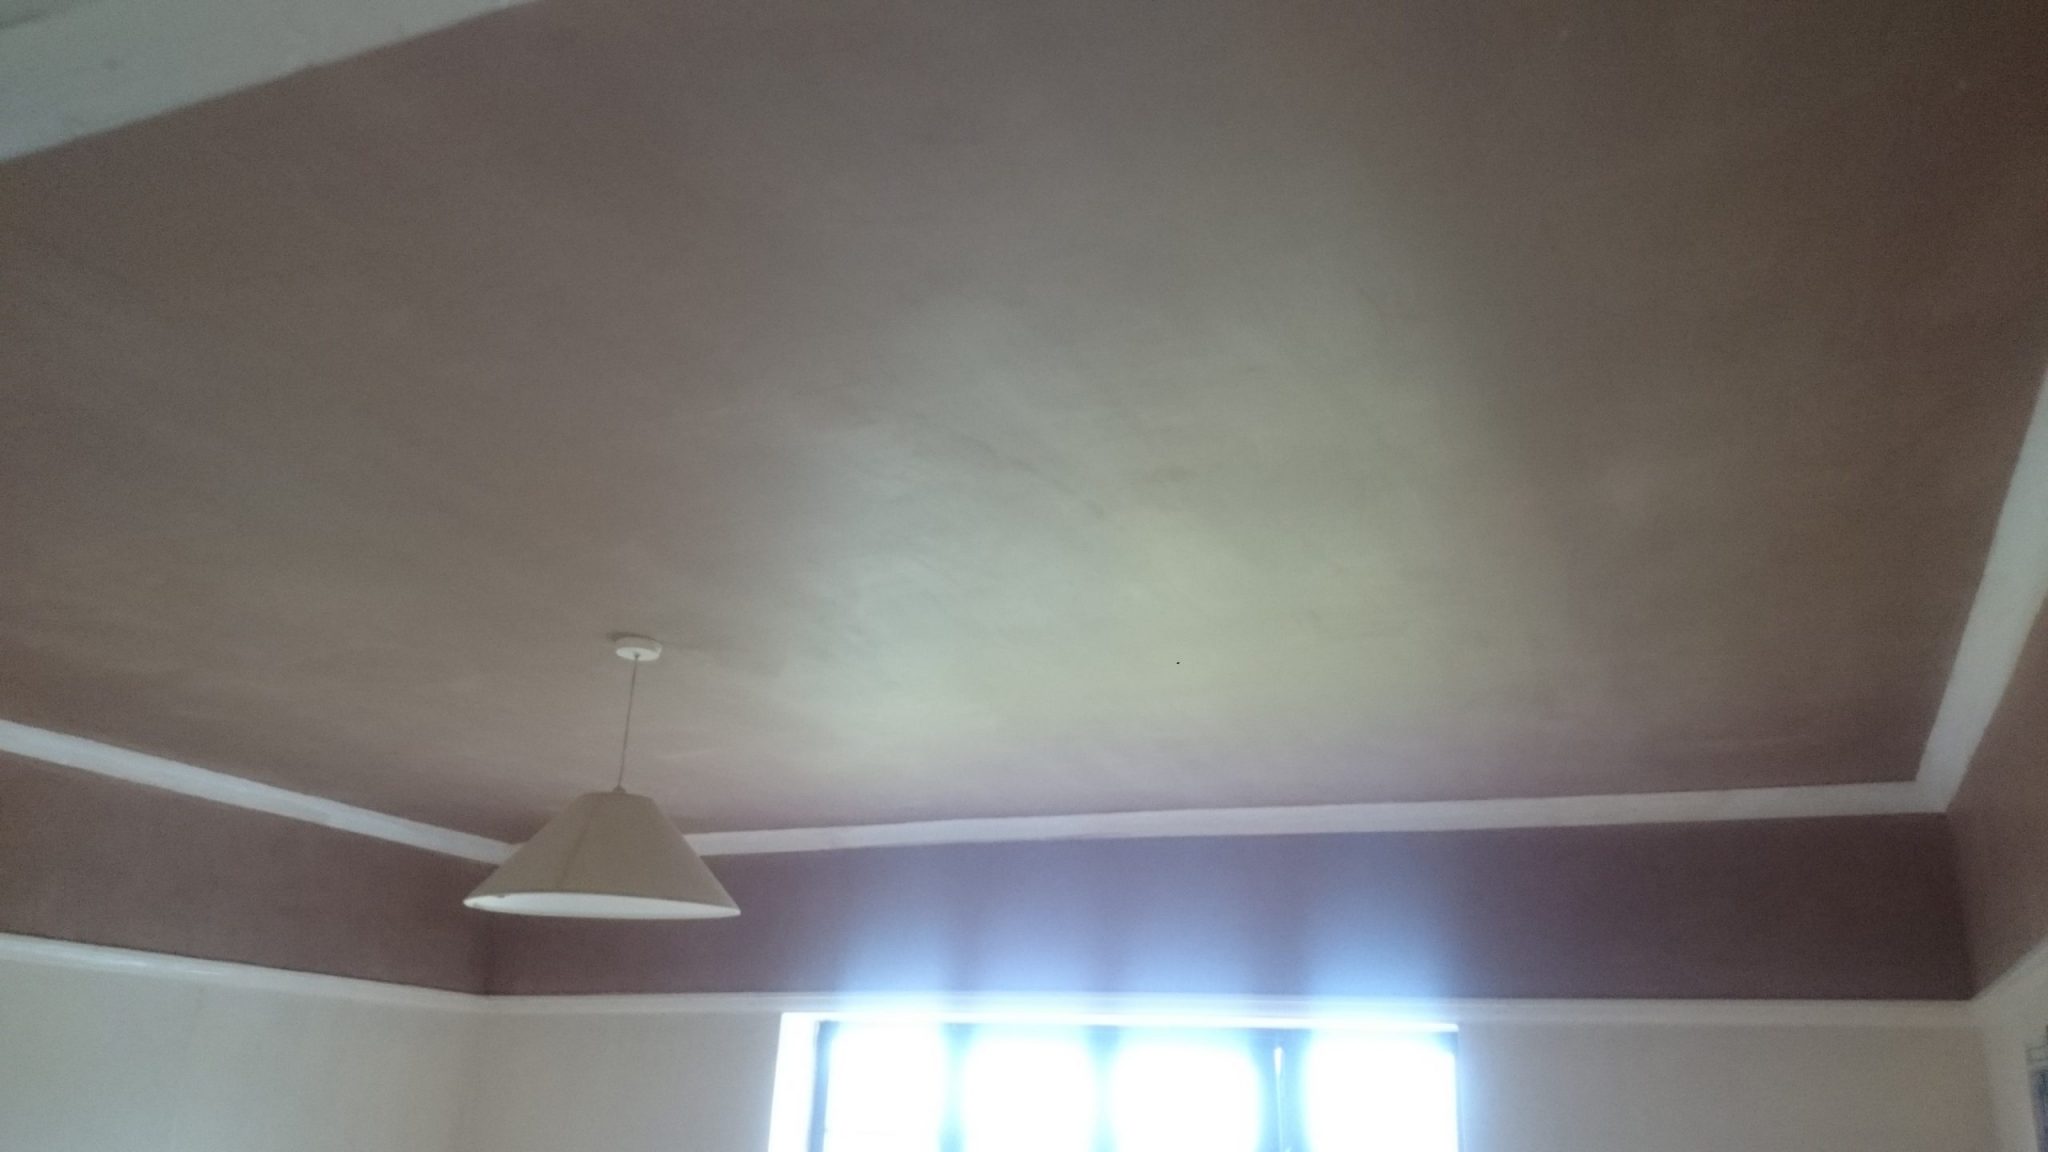
The ceiling is now on and flat and we will wait until the shine goes from it before we carry out the next step towards completing it
Now is a good time to clean any splashes. Use 2 buckets of clean water, the water must be completely clear and a nice car sponge, crack on and clean any splashes you have made, use one bucket to wash the walls and sponge and one clean bucket to wipe over them again . The clean water will reduce the dirty smears returning
Ok so the wet shine has now gone from the surface of the plaster, on an over skim like this i like to use my Sponge float . There are many types of sponge floats, we have a huge range available at our shop so choose one that suits the job. On a ceiling i tend to go small so less splashes
I use a water spray bottle, there are plenty of cheap spray bottles about or the more expensive trade quality bottles have spare parts available which can be handy are available at our site.

We give the surface a wetting with clean water and use the sponge to scour out the fat to the surface. Timing is important here so try not to hit it too early or you will just be moving the plaster about rather than bringing fat to the surface, remember you have already flattened it, we are now working on a finish we want to paint.
Once the fat is on the surface its time to lay the ceiling back down, using a right to left method i trowel from one corner of the ceiling to the other in one stroke, again i trowel at 90° to the light coming in.
The Superflex or Beroflex Skimming trowel is the preferred trowel here. a 18″ is a nice size for the ceiling. I like the Bero wooden handle as its slightly wider handle means i don’t grip it so tightly.
Also high on my list of preferred tools for this trowel up is the Superprof twister Spatula with 0.03mm blade. I turn the handle to 90° and its a very suitable tool to flatten in the ceiling after sponging. The 570mm was my weapon of choice.
Time to give my angles a twitch and clean any splashes again.
I now wait for the wall to go greasy to the touch before any colour changes take place and give it another trowel, because we are going over artex here i will give my plastic finishing trowel a go on this. I am happy that my ceiling is nice and flat and with the assistance of my Delehedy Plastic Trowel i can achieve a flat closed in surface quite rapidly

The ceiling is ready for a final trowel once you see it start to change color. Timed right you will actually feel the difference a final trowel makes, because i’m going over artex again i feel the best trowel is my plastic although you will get just as good results with your superflex.
A light spray of clean water is applied first and the trowel is brought over from one side to the other in one movement. again across the light.
The final result you are looking for is a ceiling or wall that firstly sets all in one color with no lighter fat marks making it look scruffy. Any angle beads that you have worked to should be clean. I like to run my thumb down the angle beads after each trowel. The end result makes your beads stand out and the painters usually moan cos they need to undercoat them first, but we are plasterers and we love to showcase our work don’t we all.
As each trowel up passes we either prepare for the next set or pack our stuff away. If its the last set its helpful to explain to the customer that you would like your cash in readies placed in the exact spot you will trowel last.
There are plenty of ways to get the same results and the purpose of this blog is share my own way and maybe create some interesting topics of conversation and of course get you all checking in on our website from time to time www.pftplasteringmachines.com.
All tools and equipment is available from our site.