No products in the cart.
Hi and thanks for stopping to read this. We have put together a guide on how we like to finish the sand and cement alternative available from k rend.
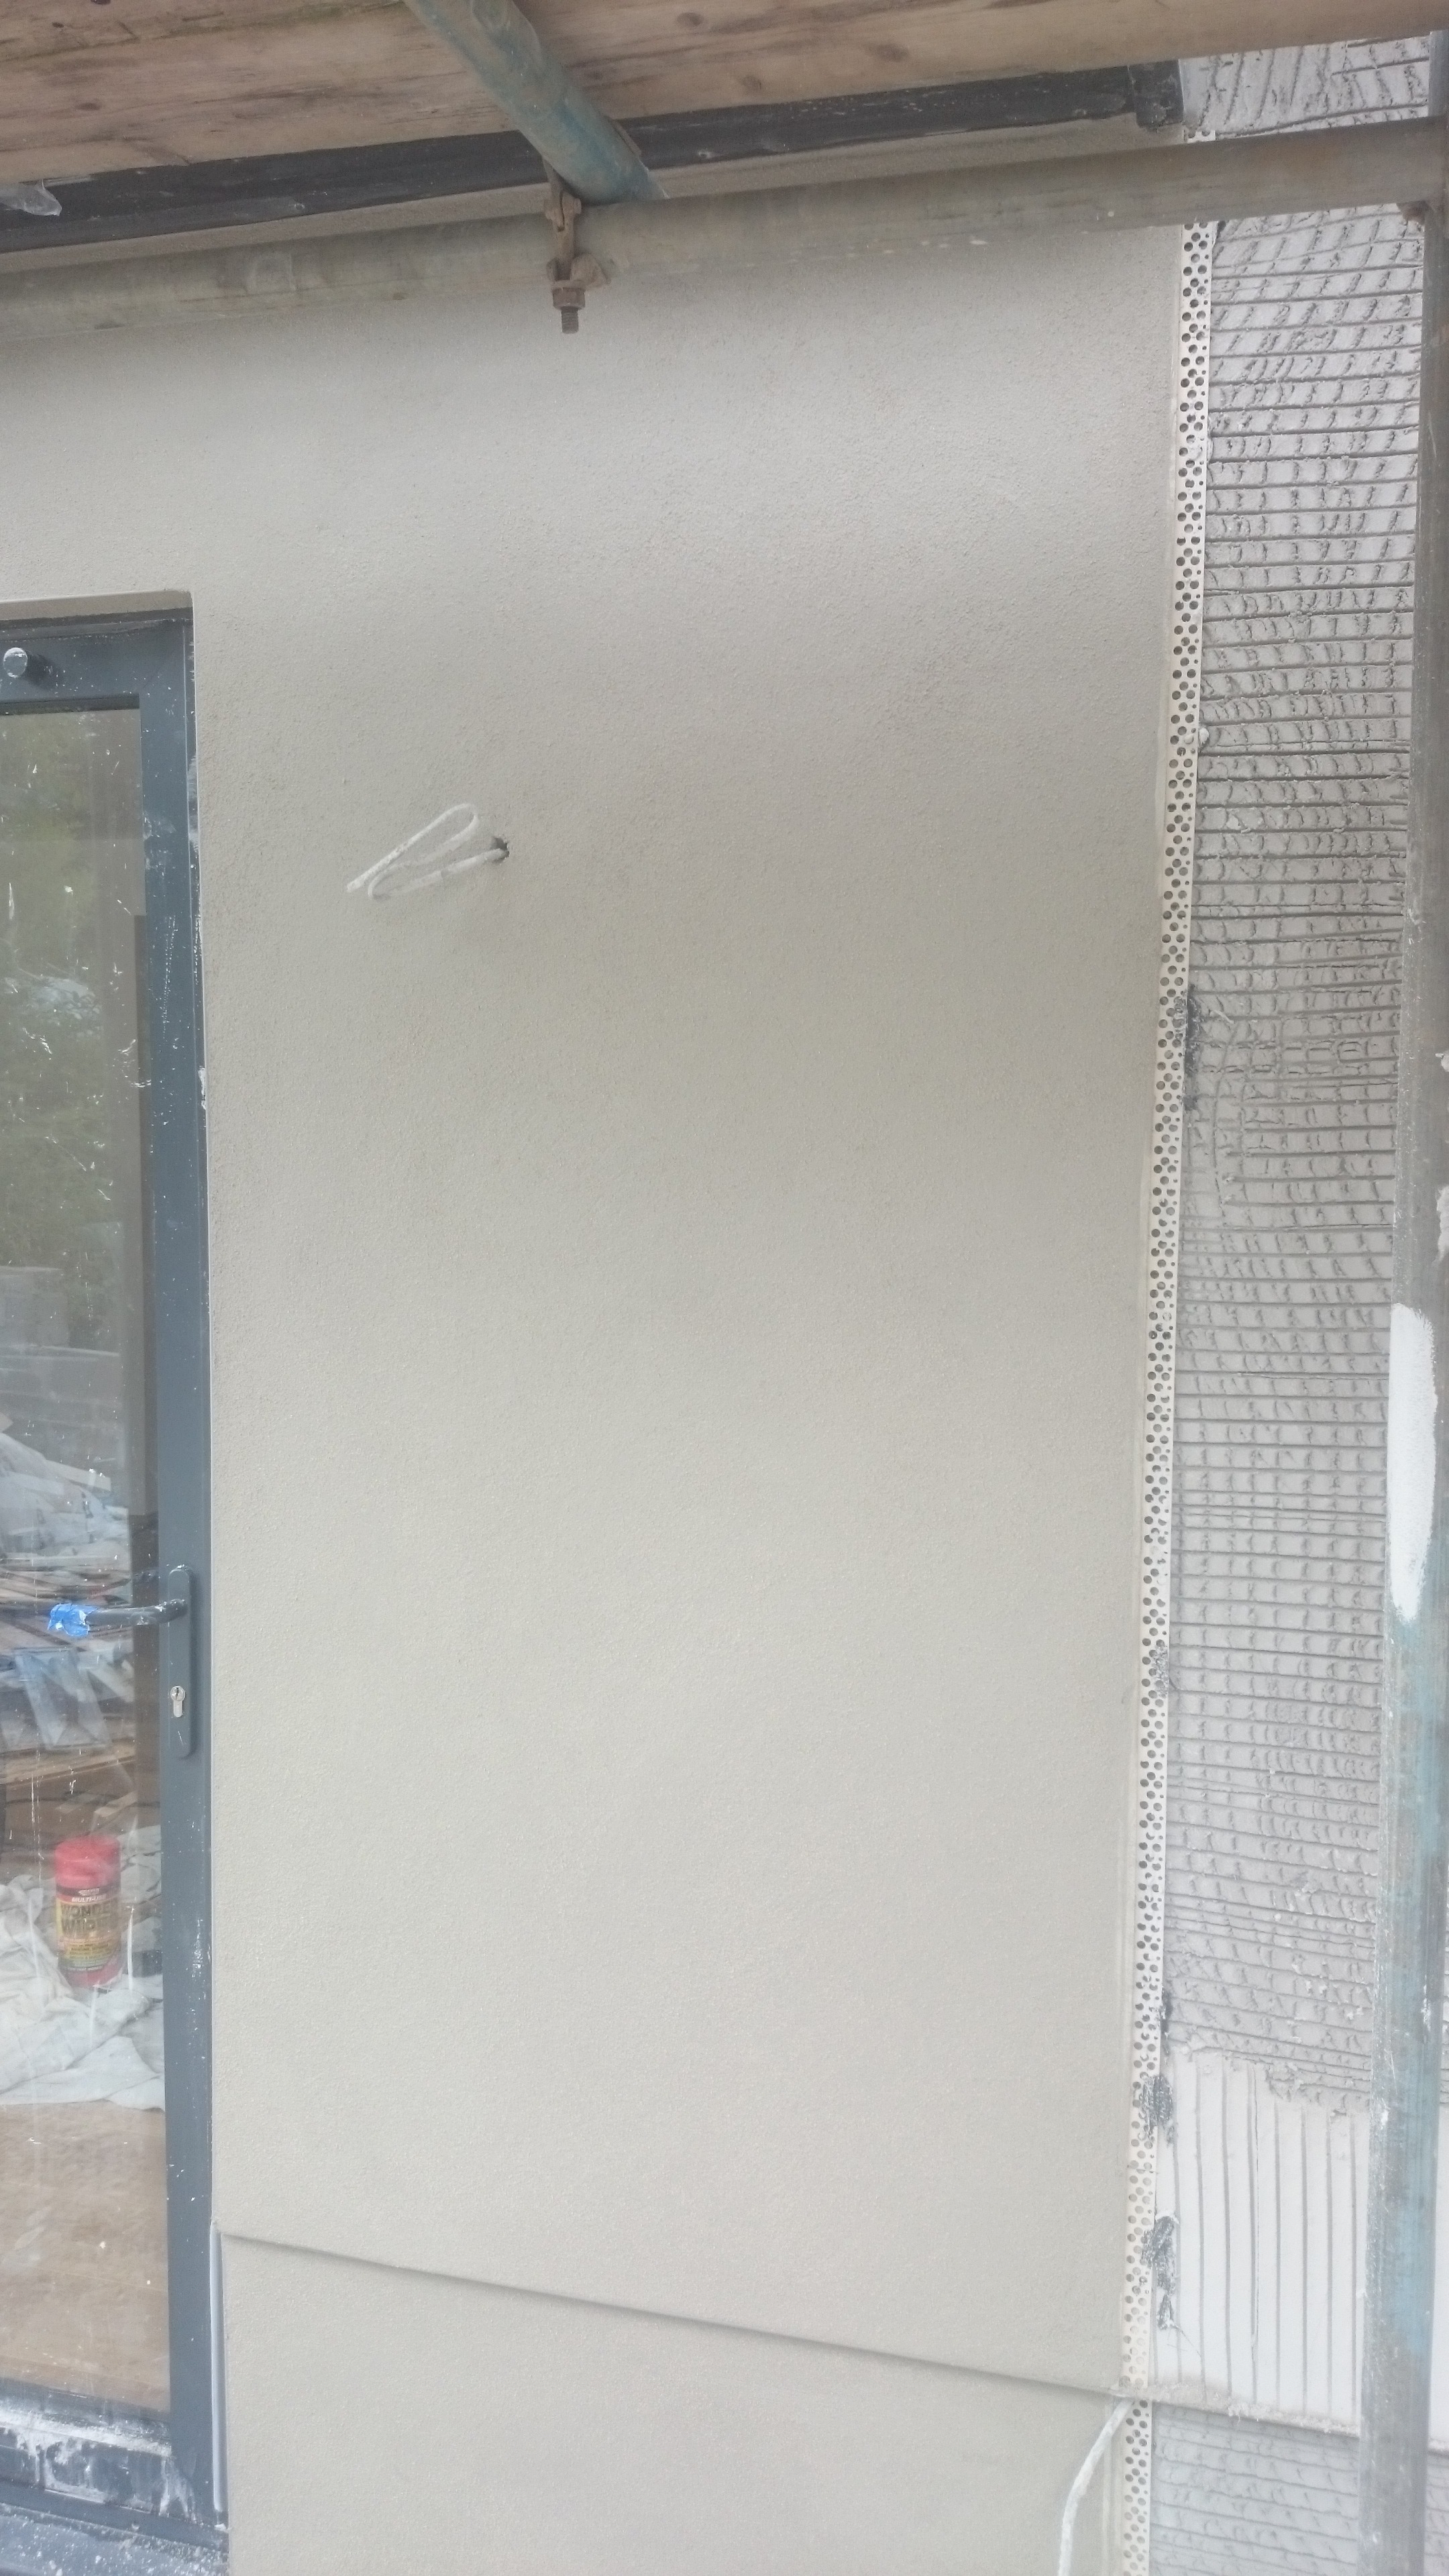
Today we are going over a mixture of GPM base coat installed previously onto an old stone base (primed first) and an existing basecoat of traditional render.
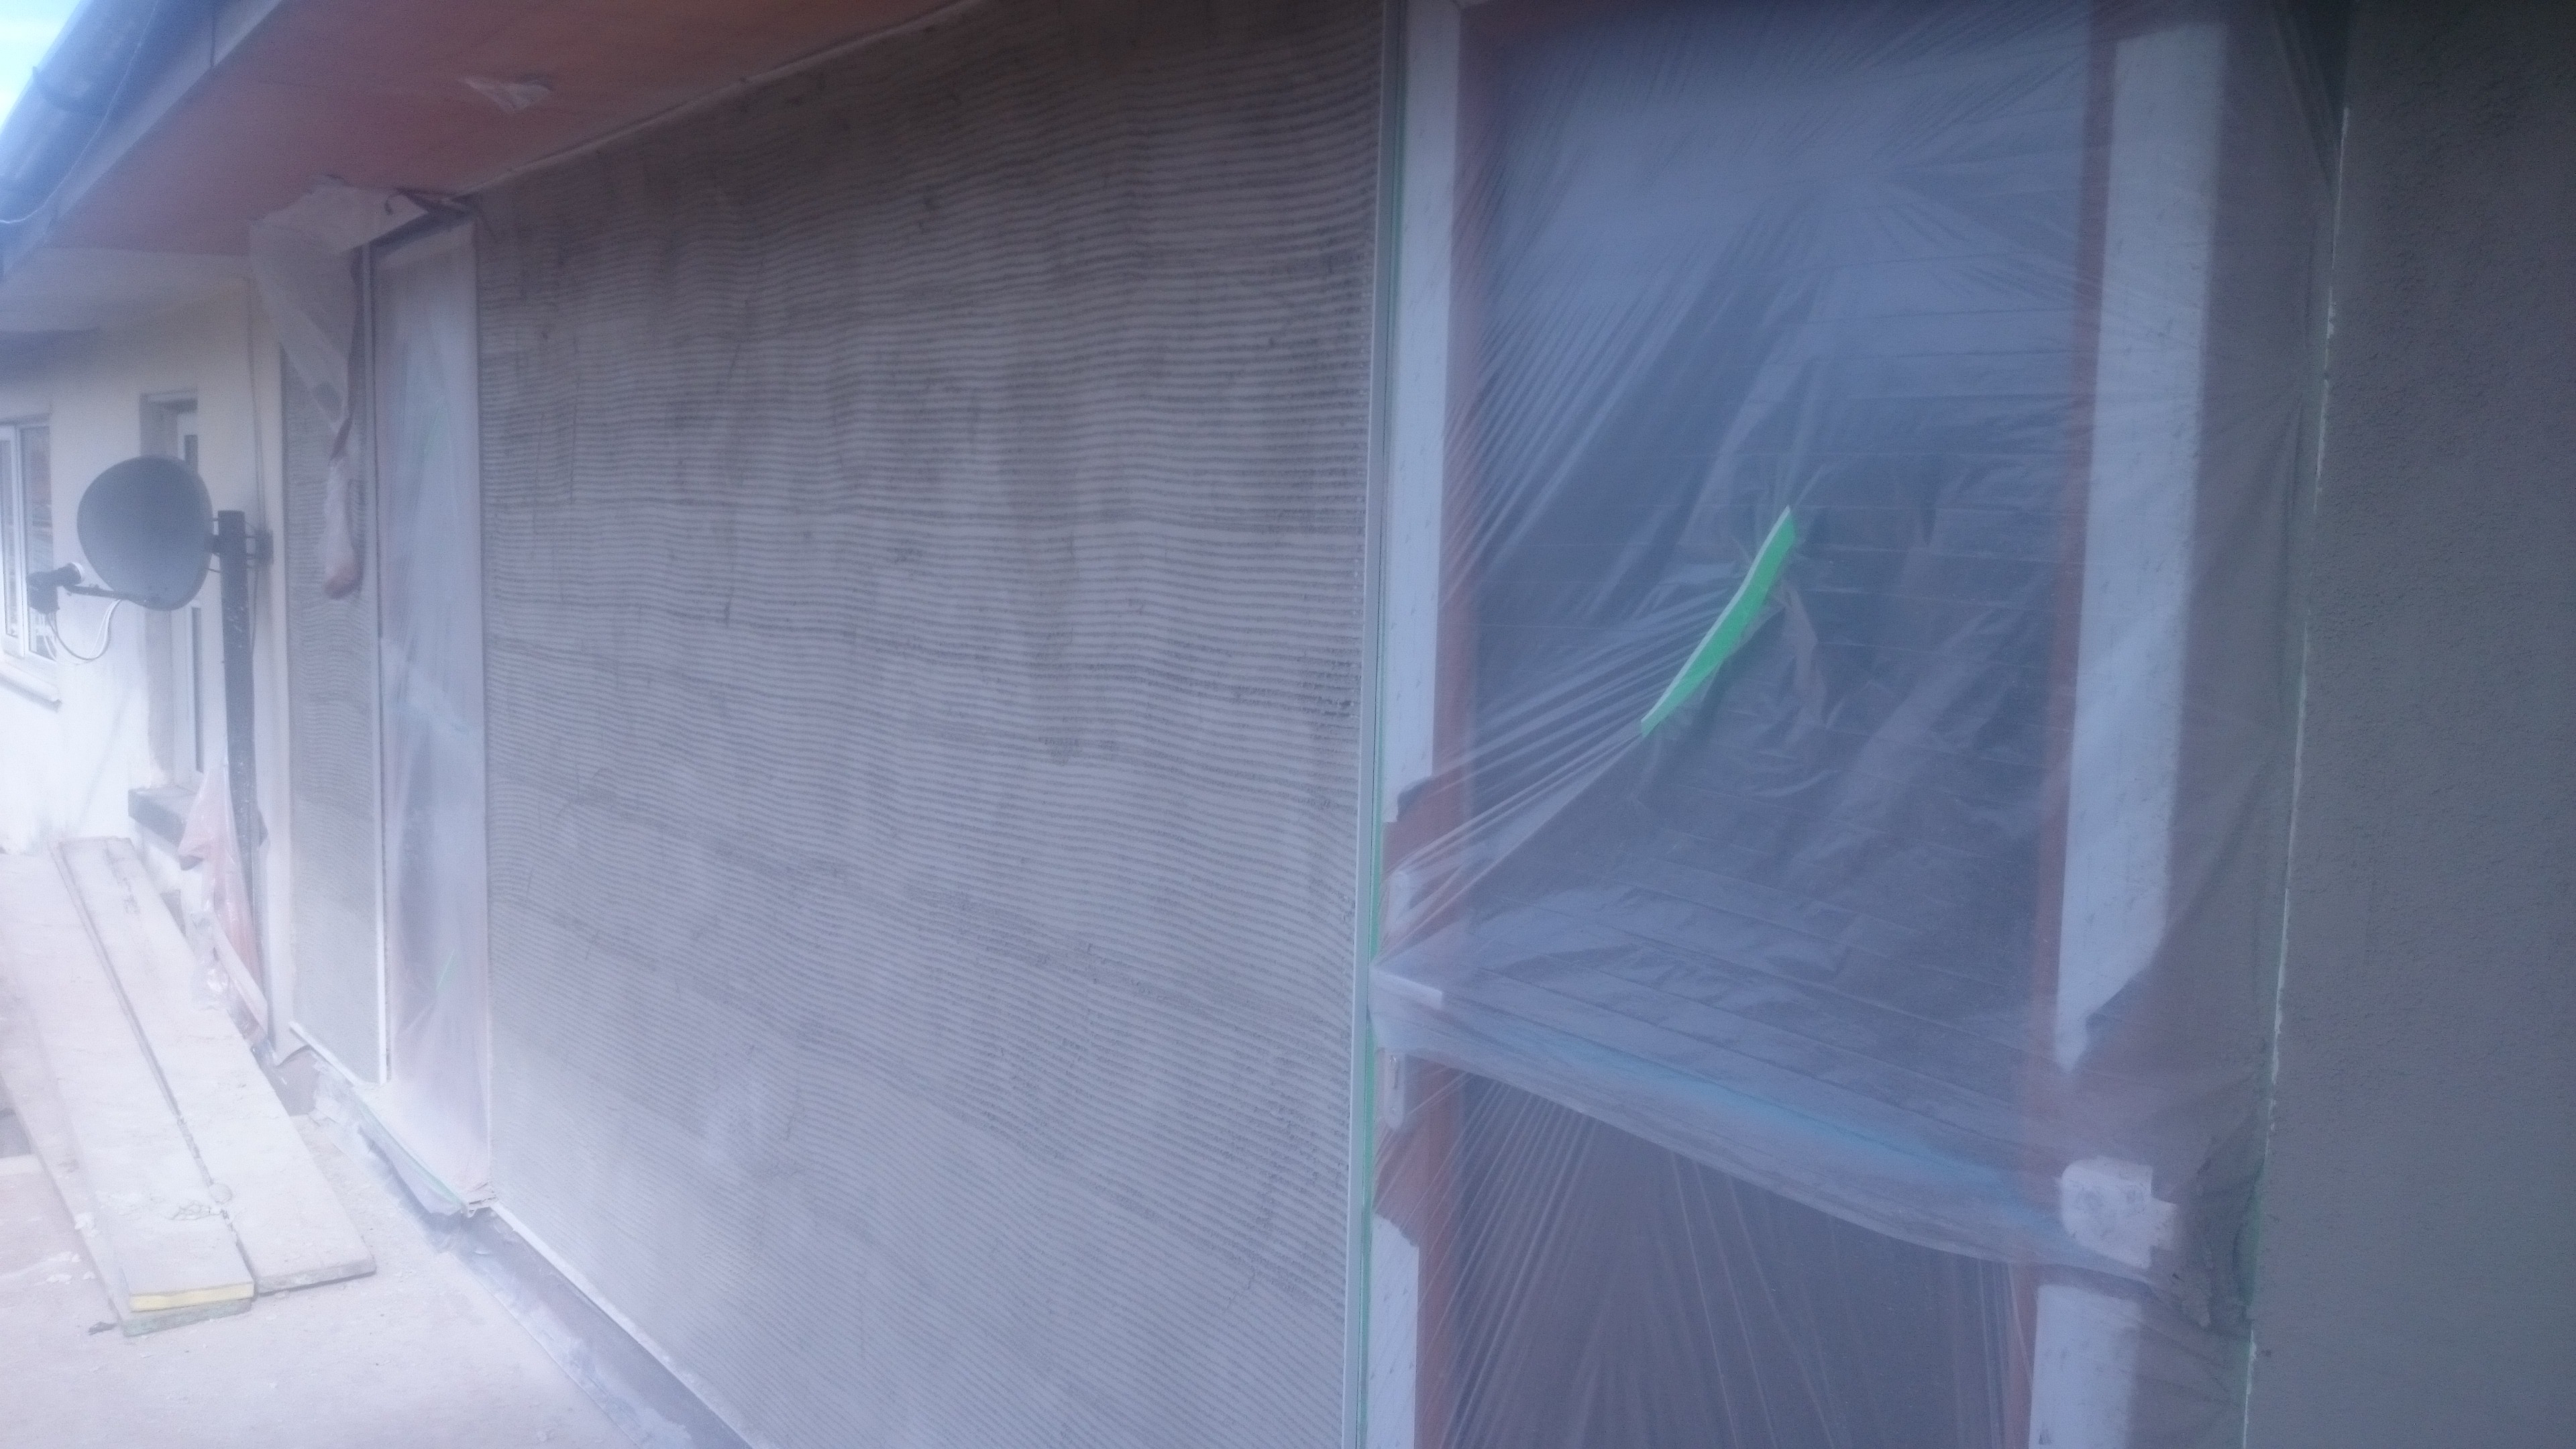
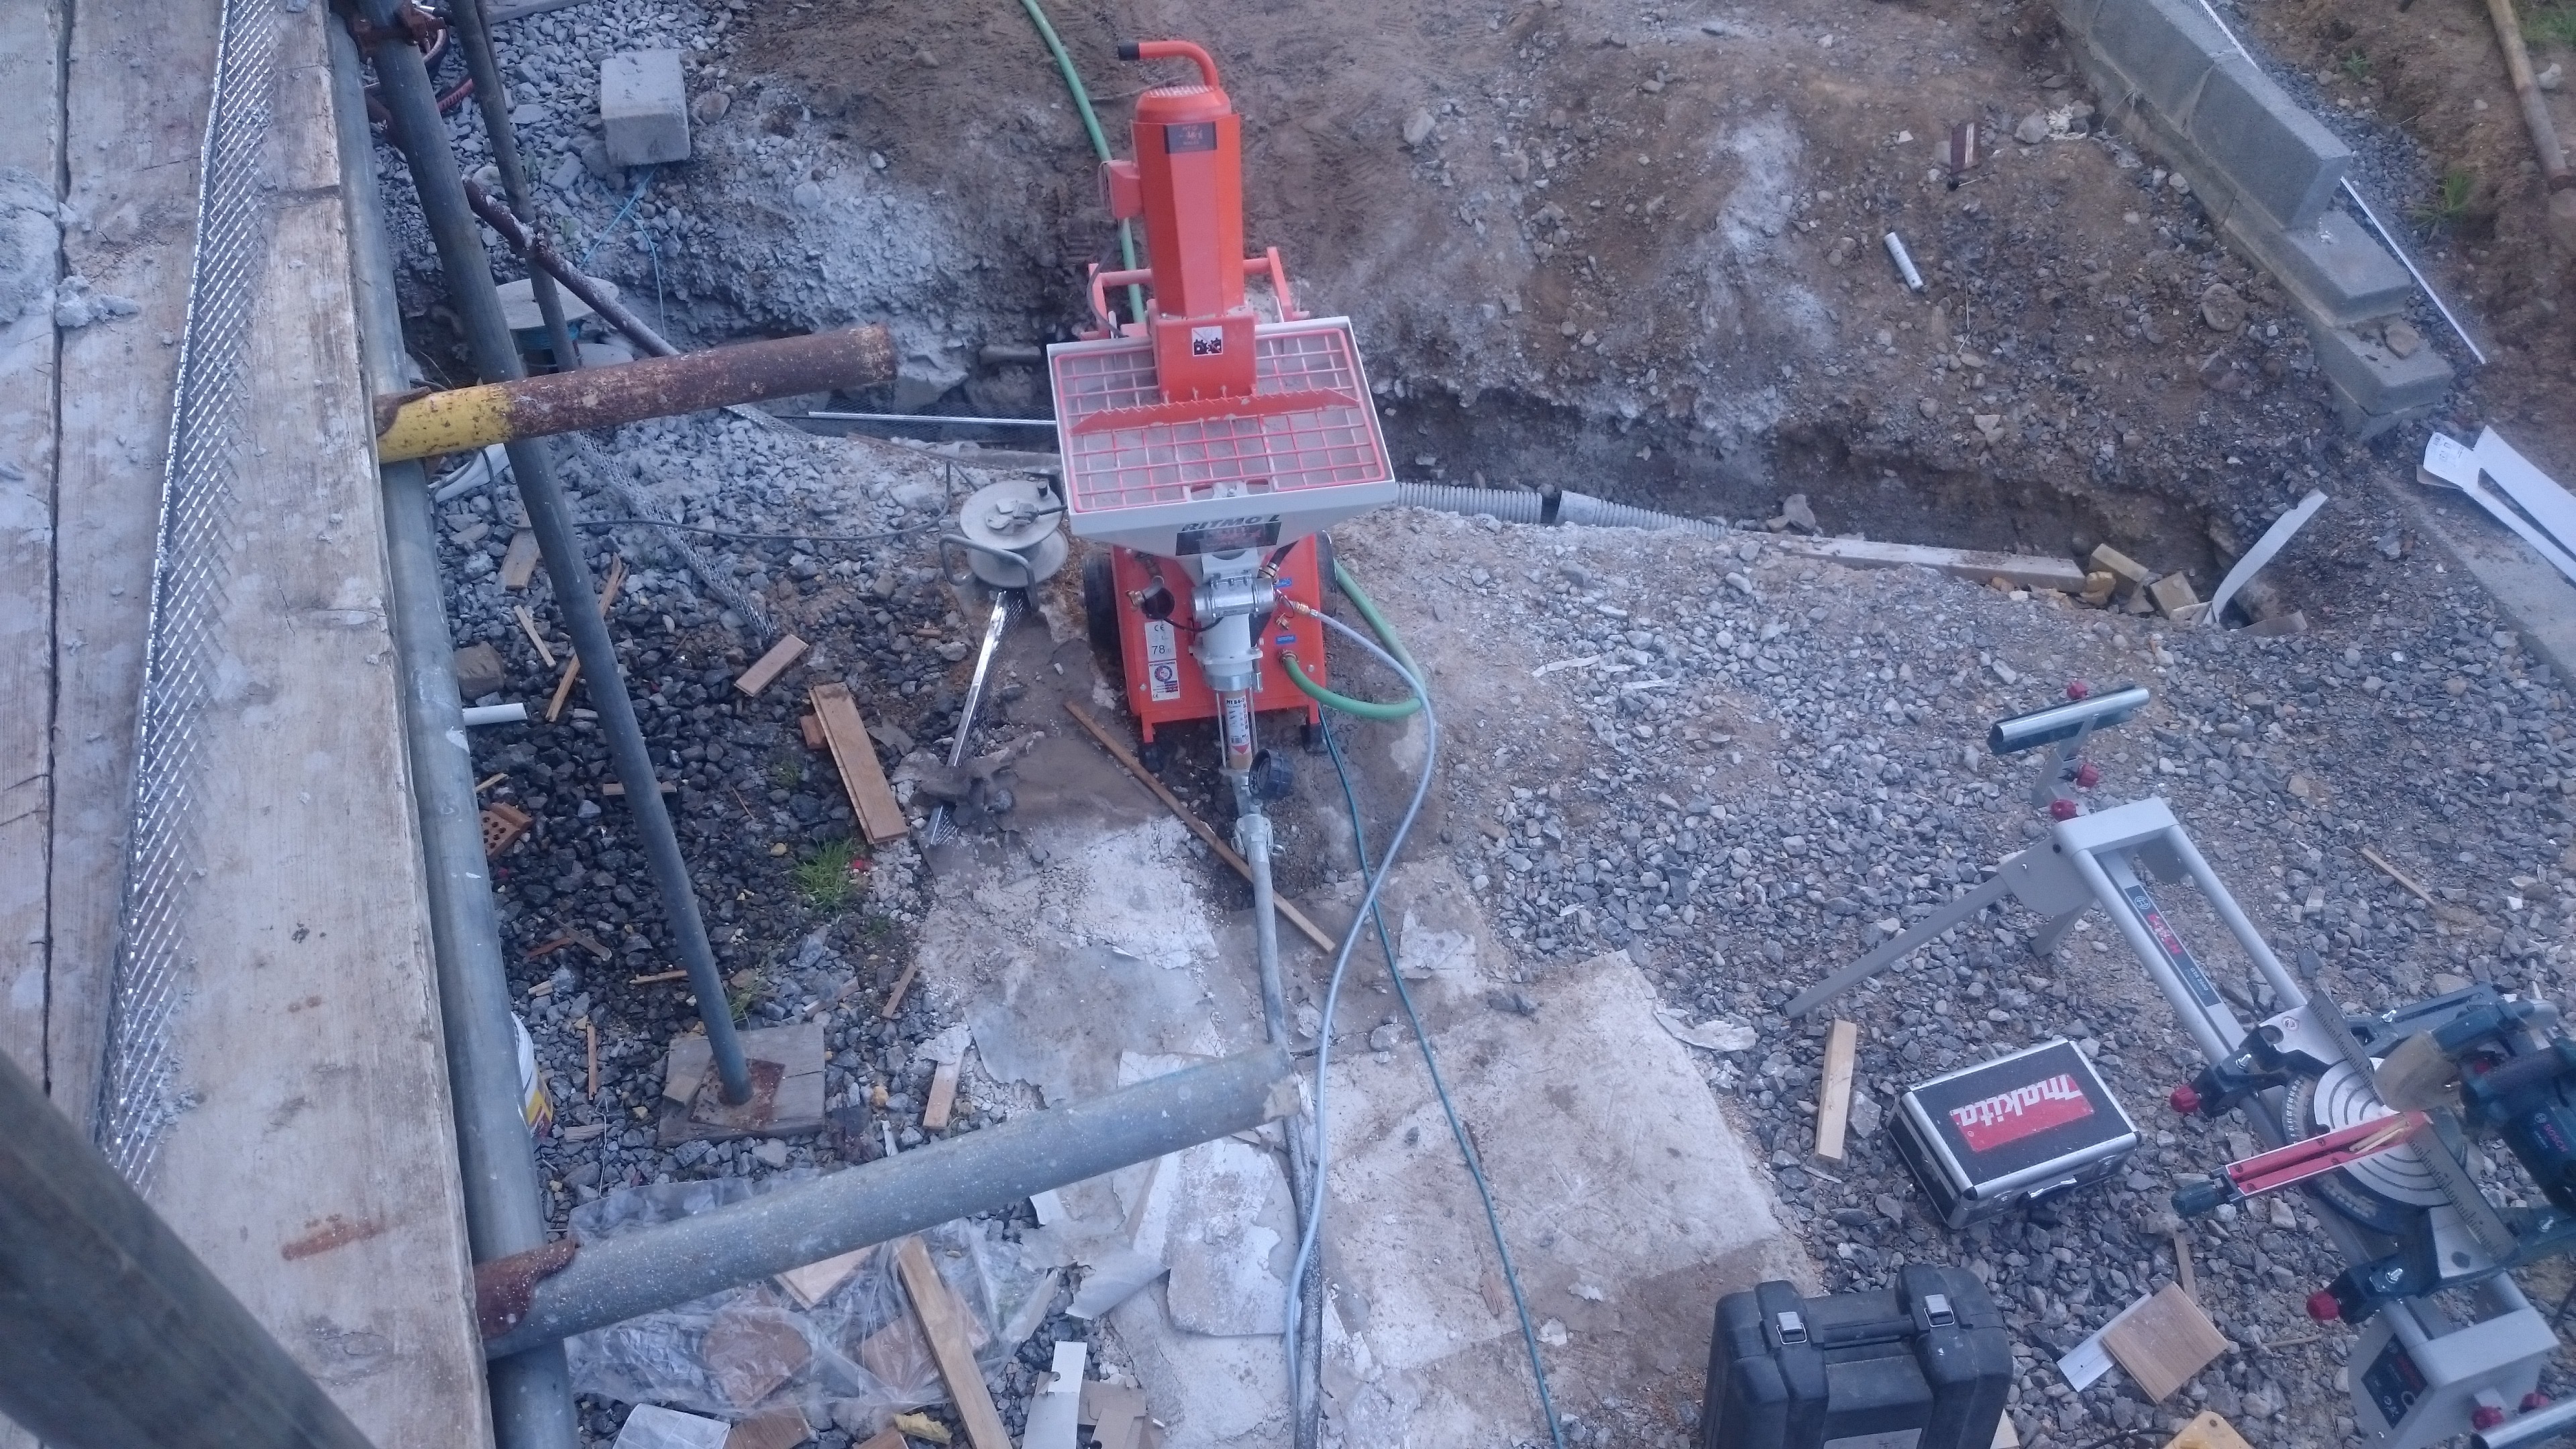
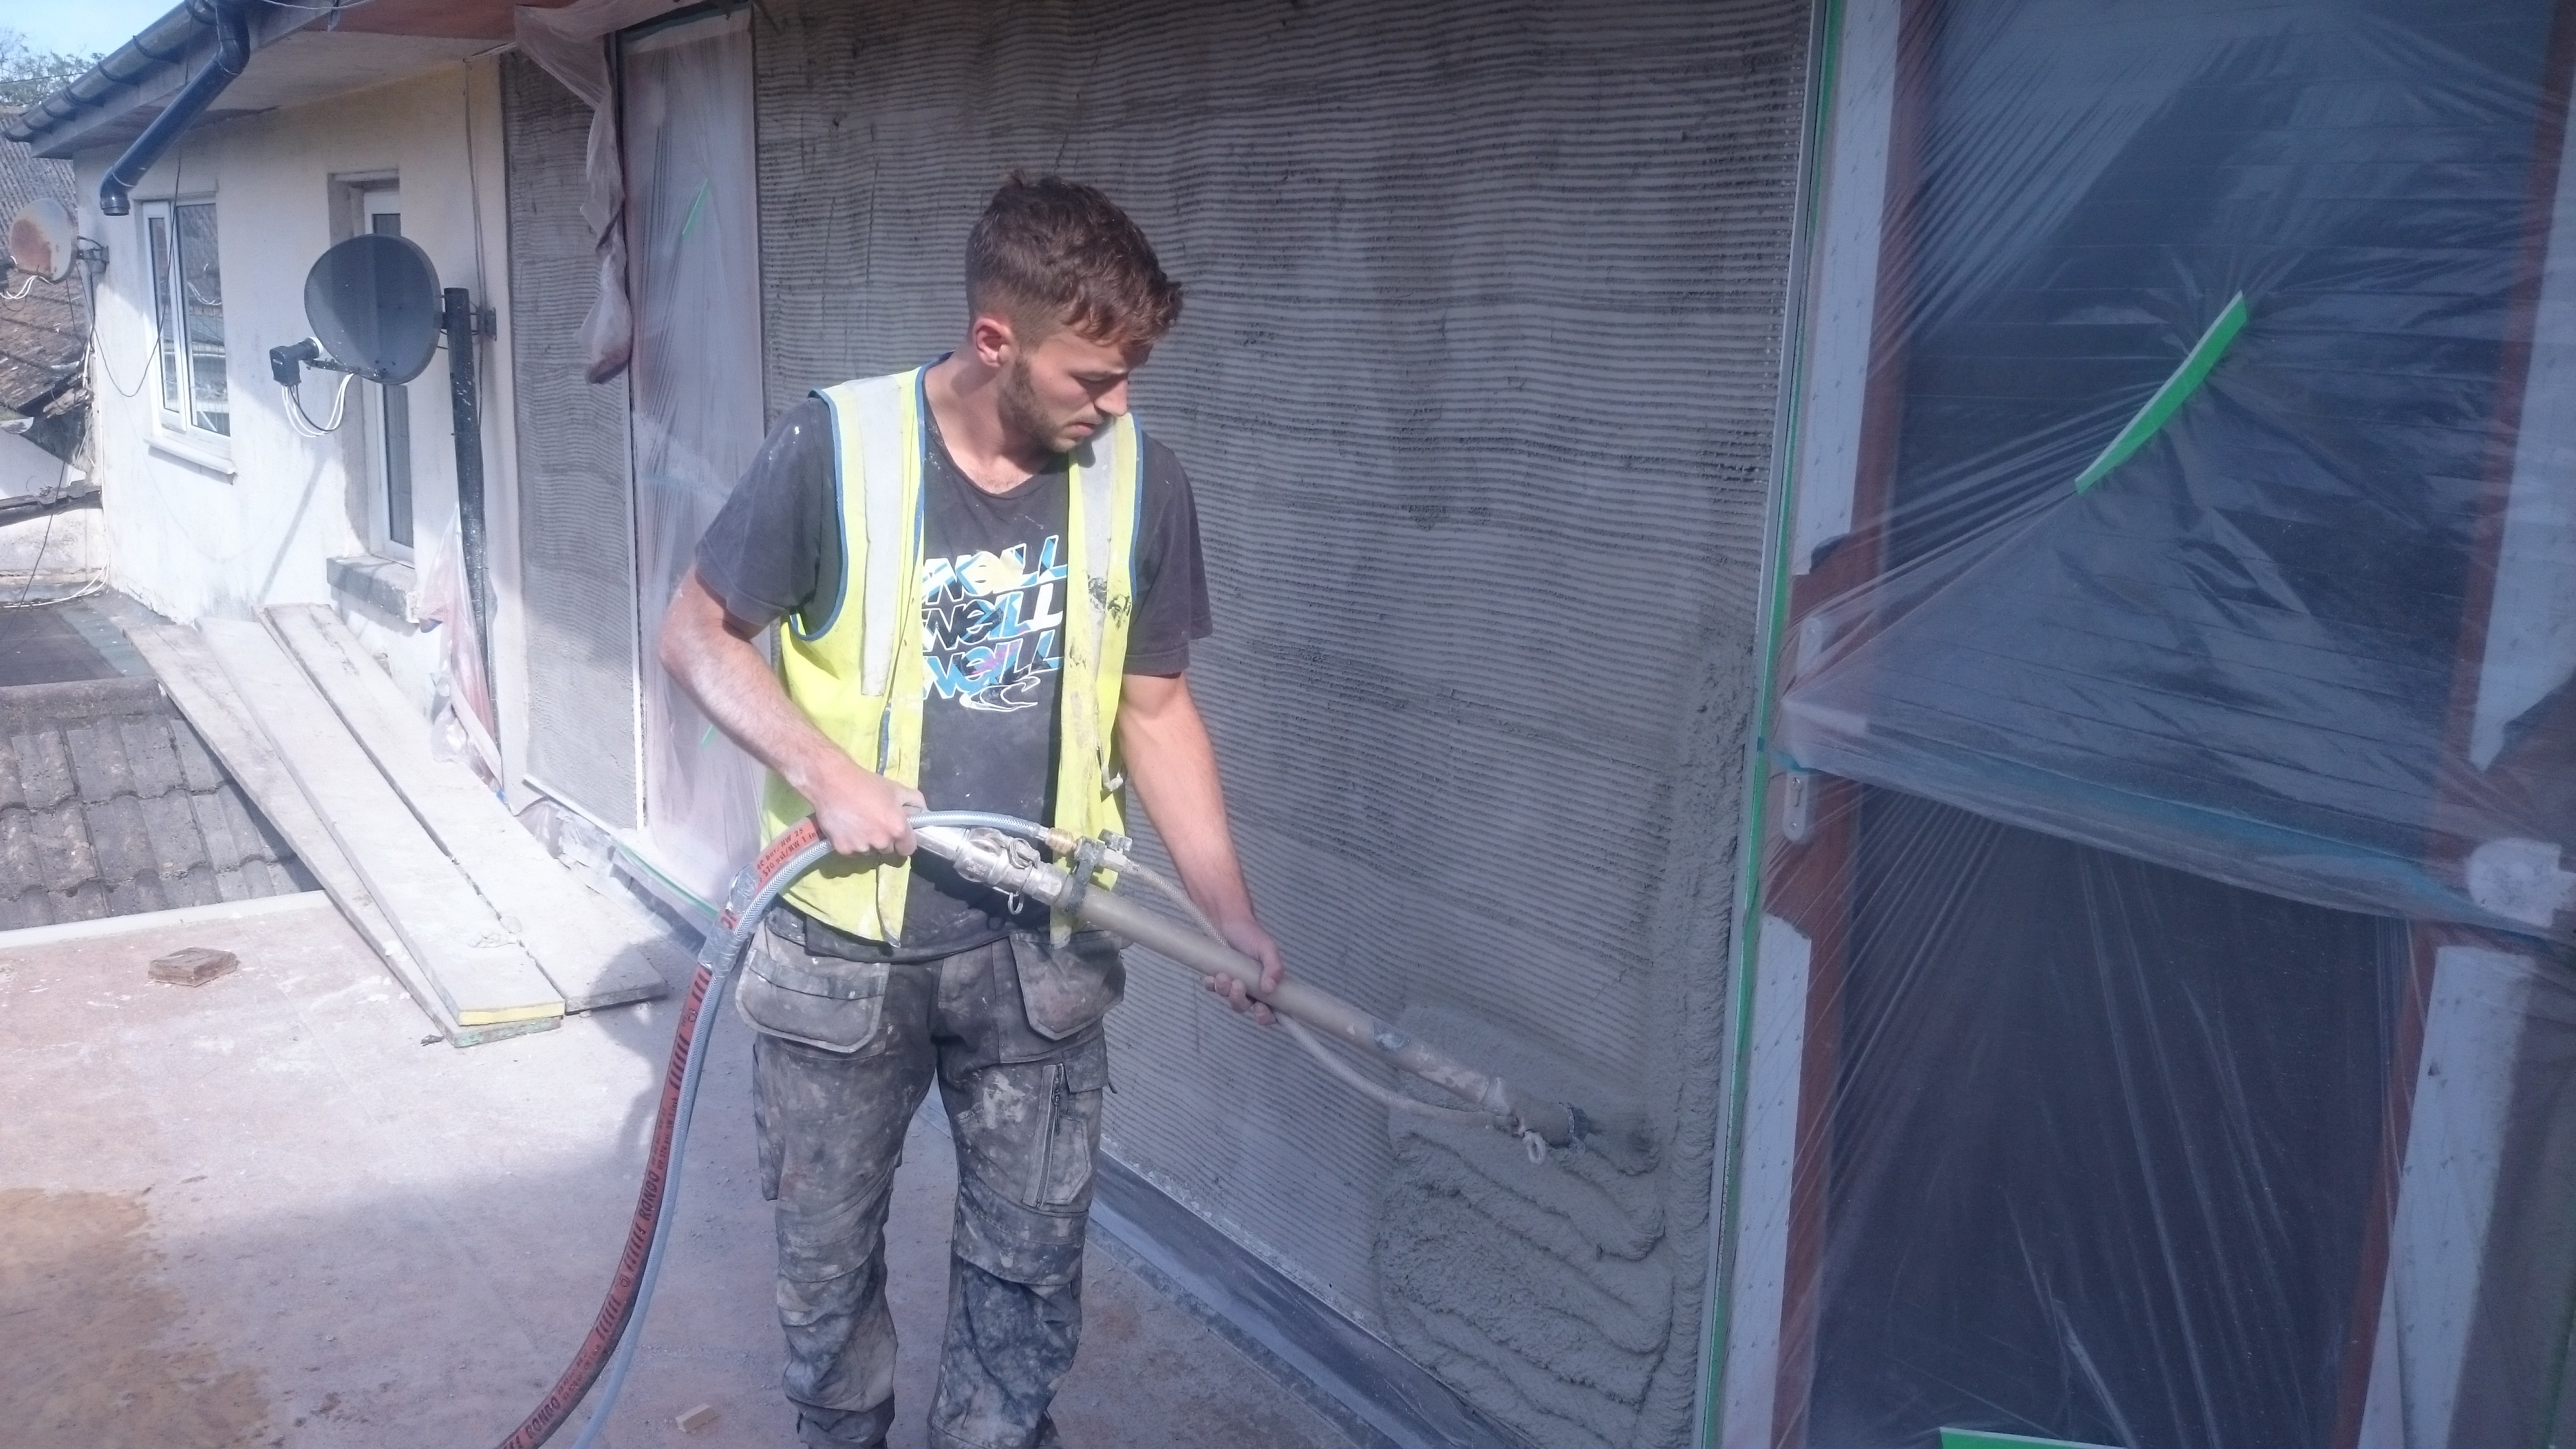
We start off by lightly damping down the base coat and setting up our PFT Ritmo L. Soon the machine is pumping material straight onto the wall. Our machine was pumping at 6 bar pressure with only 15 mts of hose, we could have put another 20 mts of hose on if we desired.
The material is applied in ribbons approx 12mm thick. We like to start from the bottom of the wall and let the ribbons fall onto each other. Although the material is sprayed wet, it doesn’t take long for it to pick up. with that in mind we are right behind ruling it straight with a serrated edge.
At this point we like to make sure all voids and hollows are filled in leaving a true and level surface.
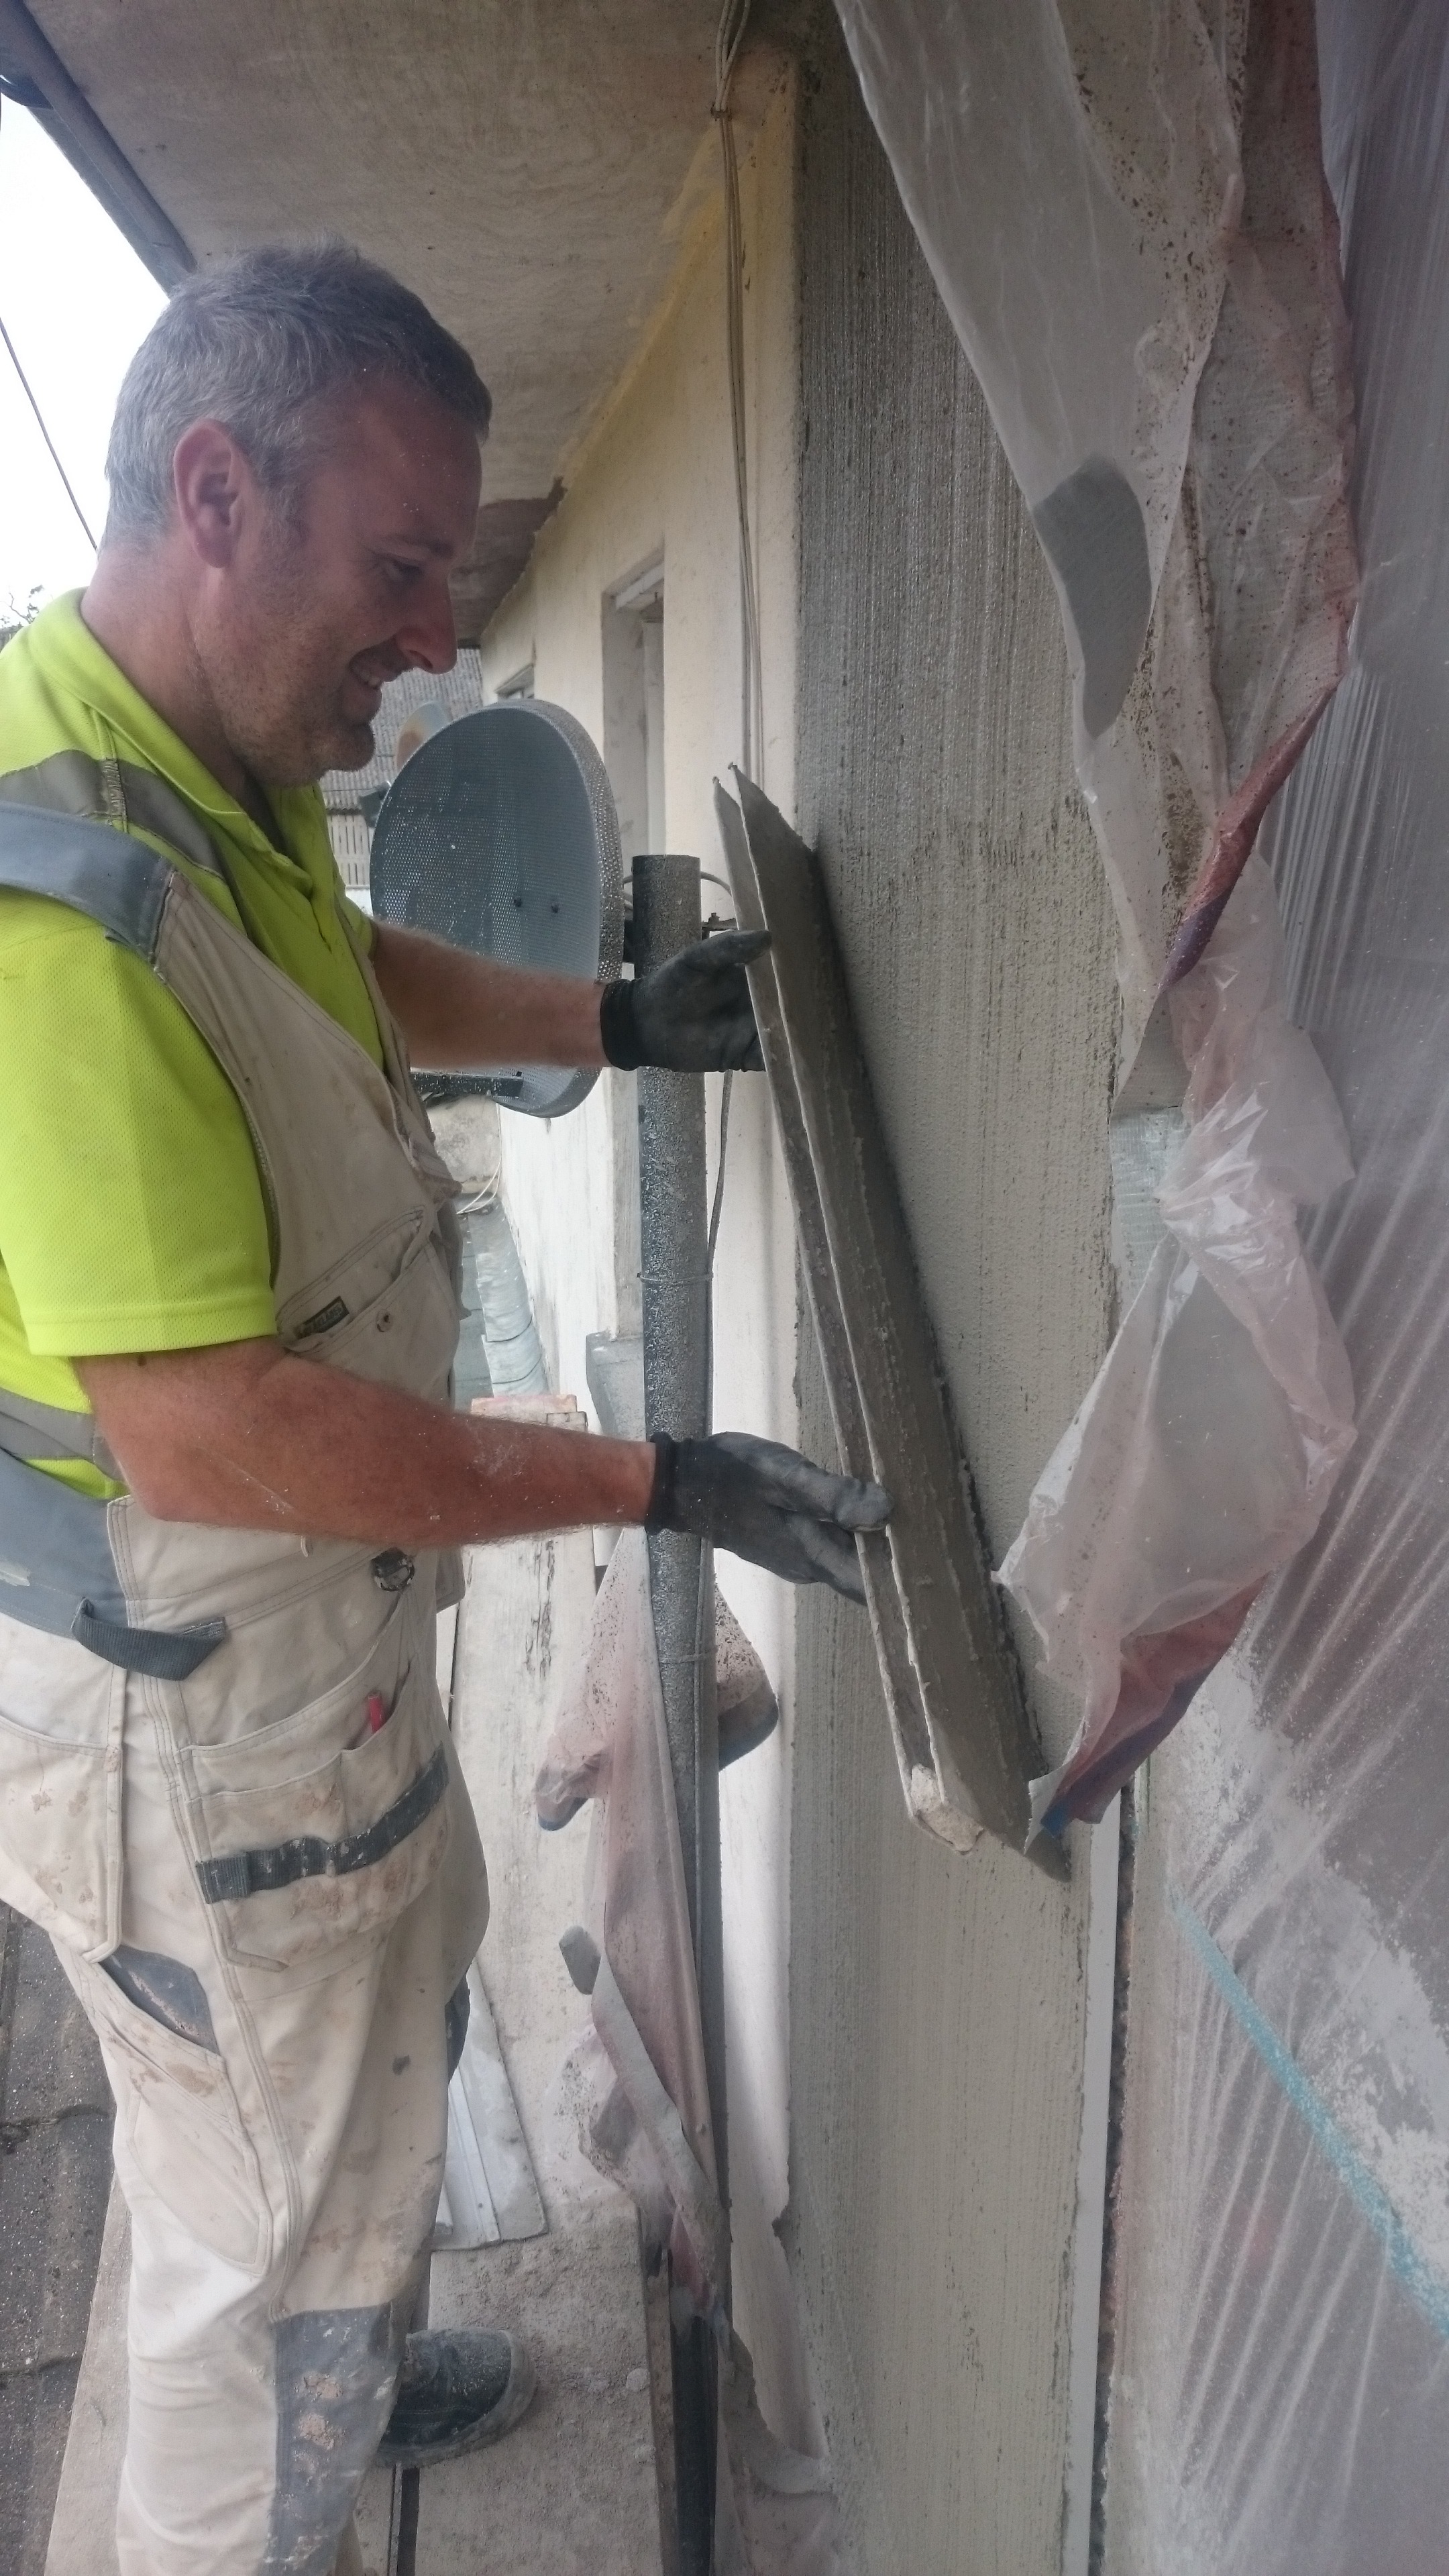

Straight away i like to fly over it with my semi flexible rule, this is like a stiffer spatula and can just tidy up the lines left by the serrated edge. The semi flex rule is not always useful if there are any bends in the wall which just cant be pulled out. The GPM can pick up initially and tear a bit so its good to get it under control before the next stage.
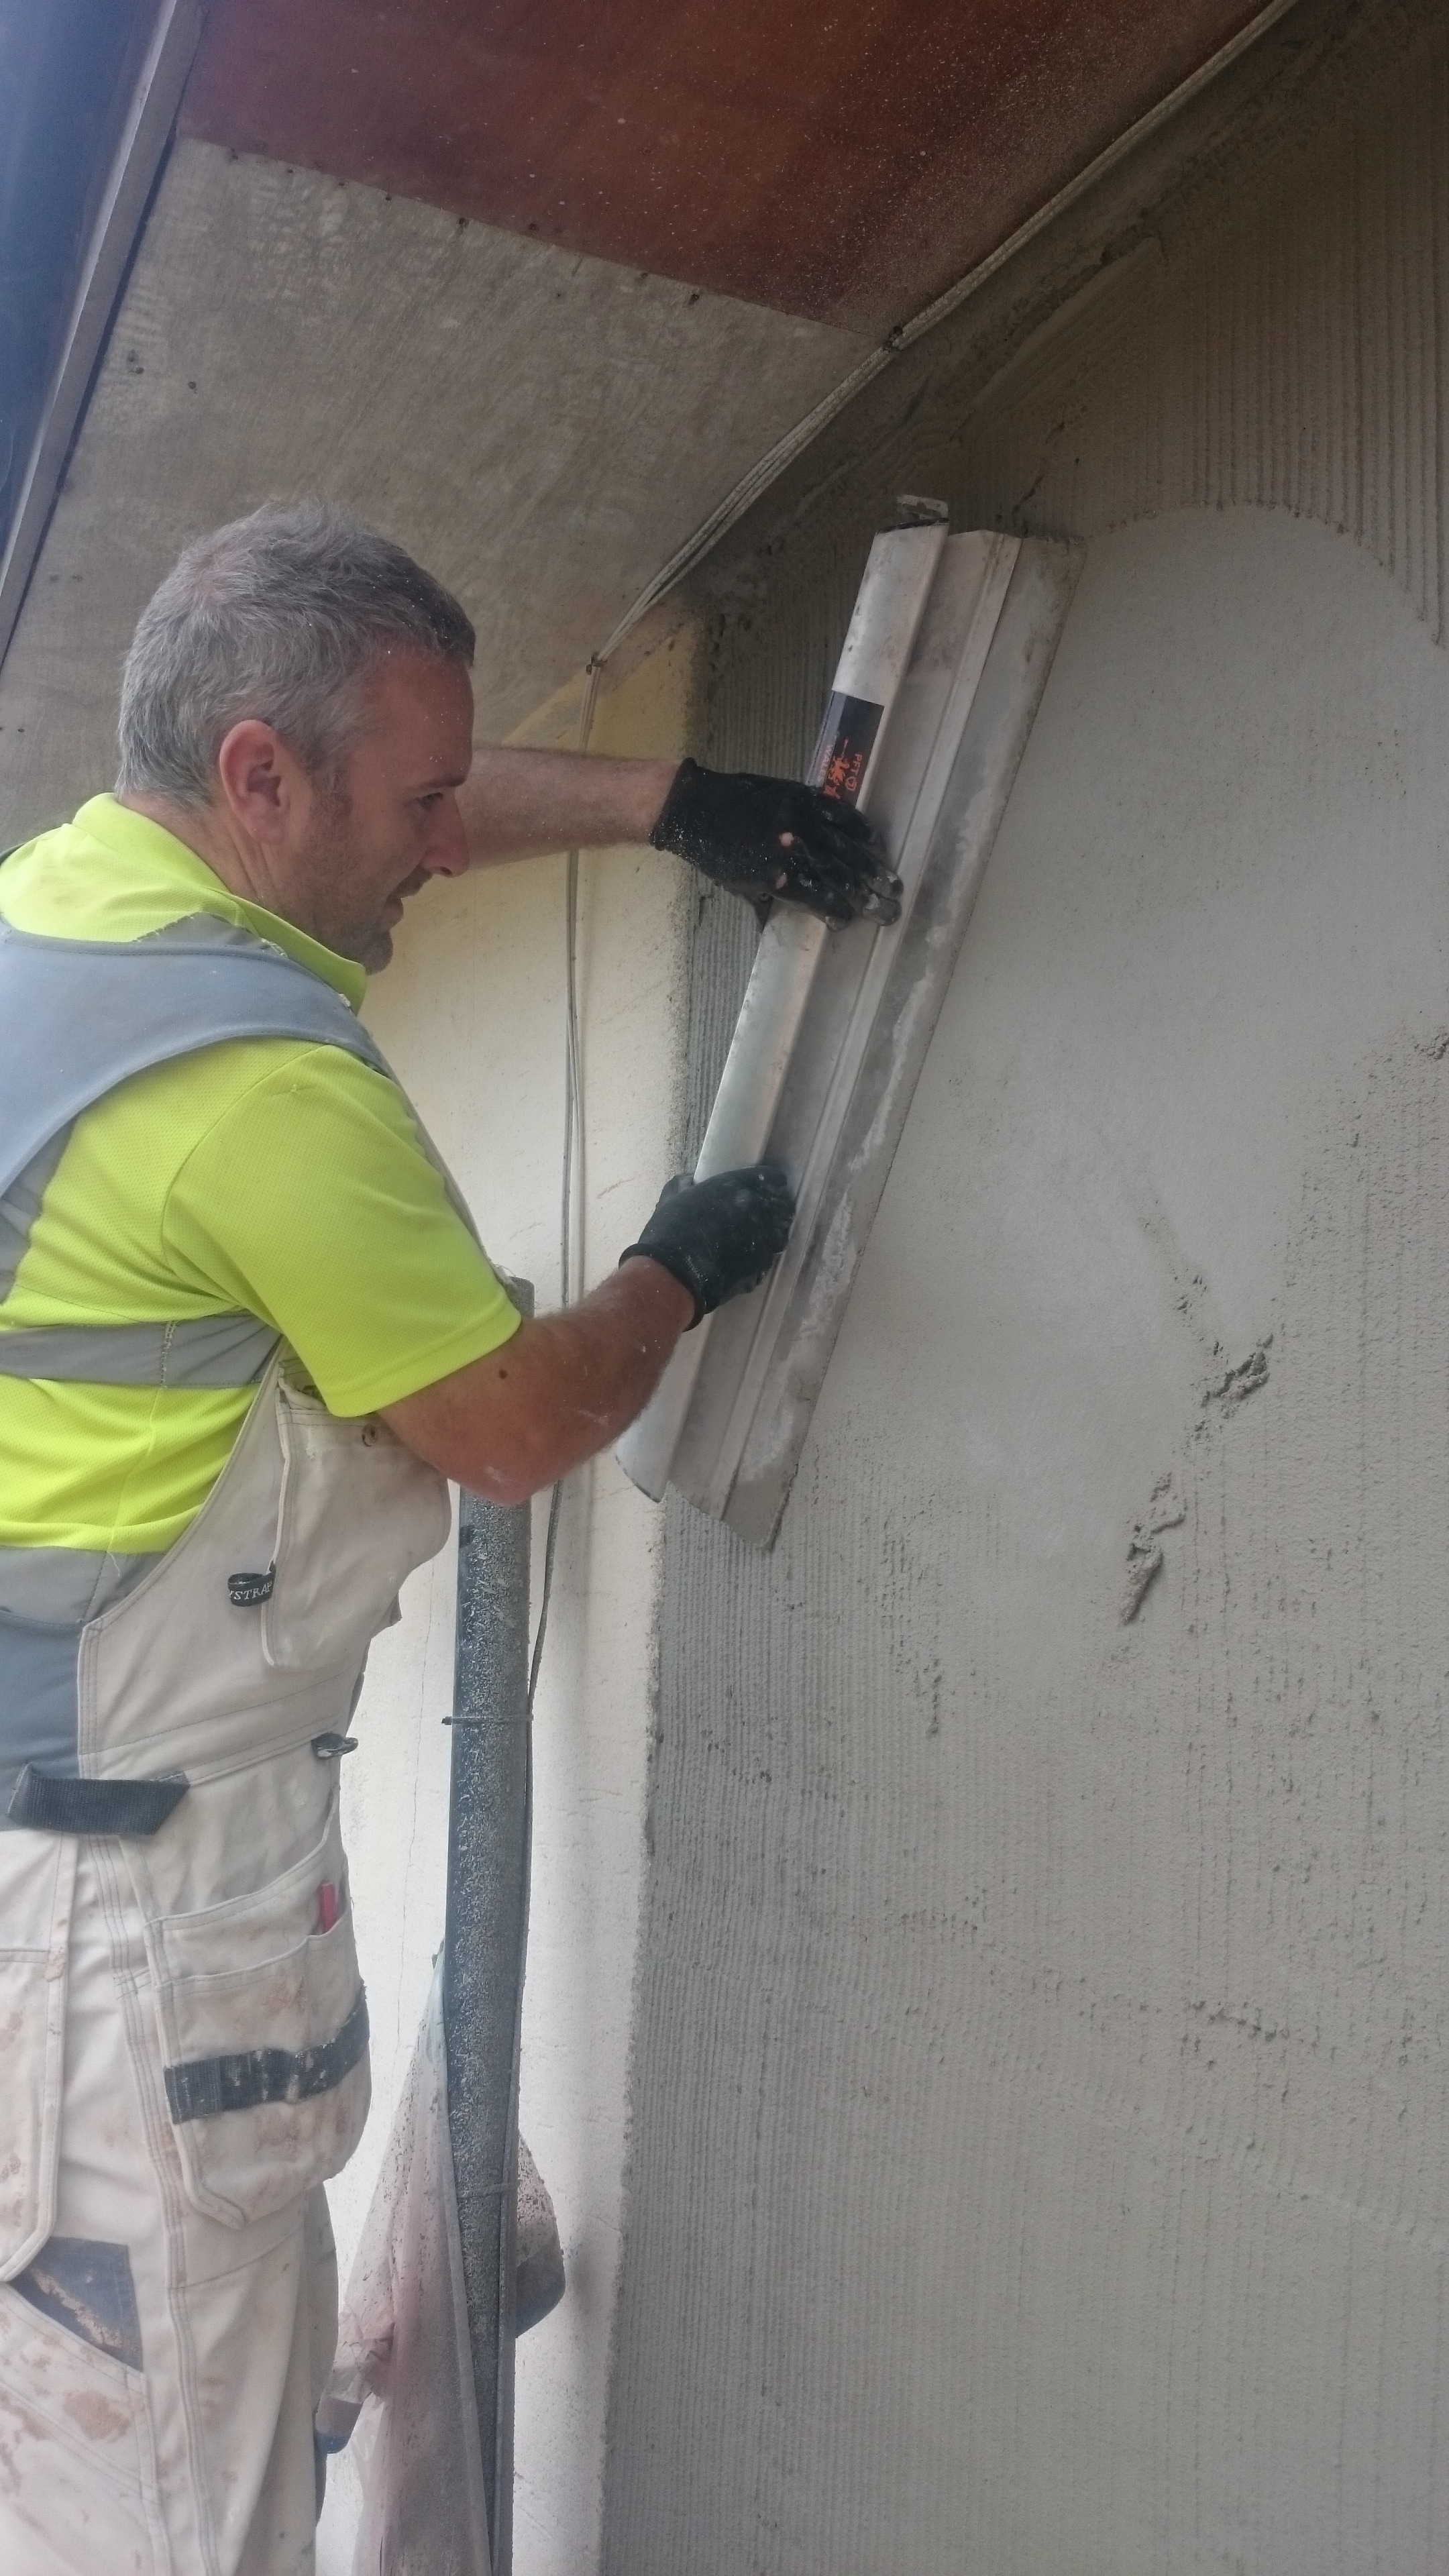
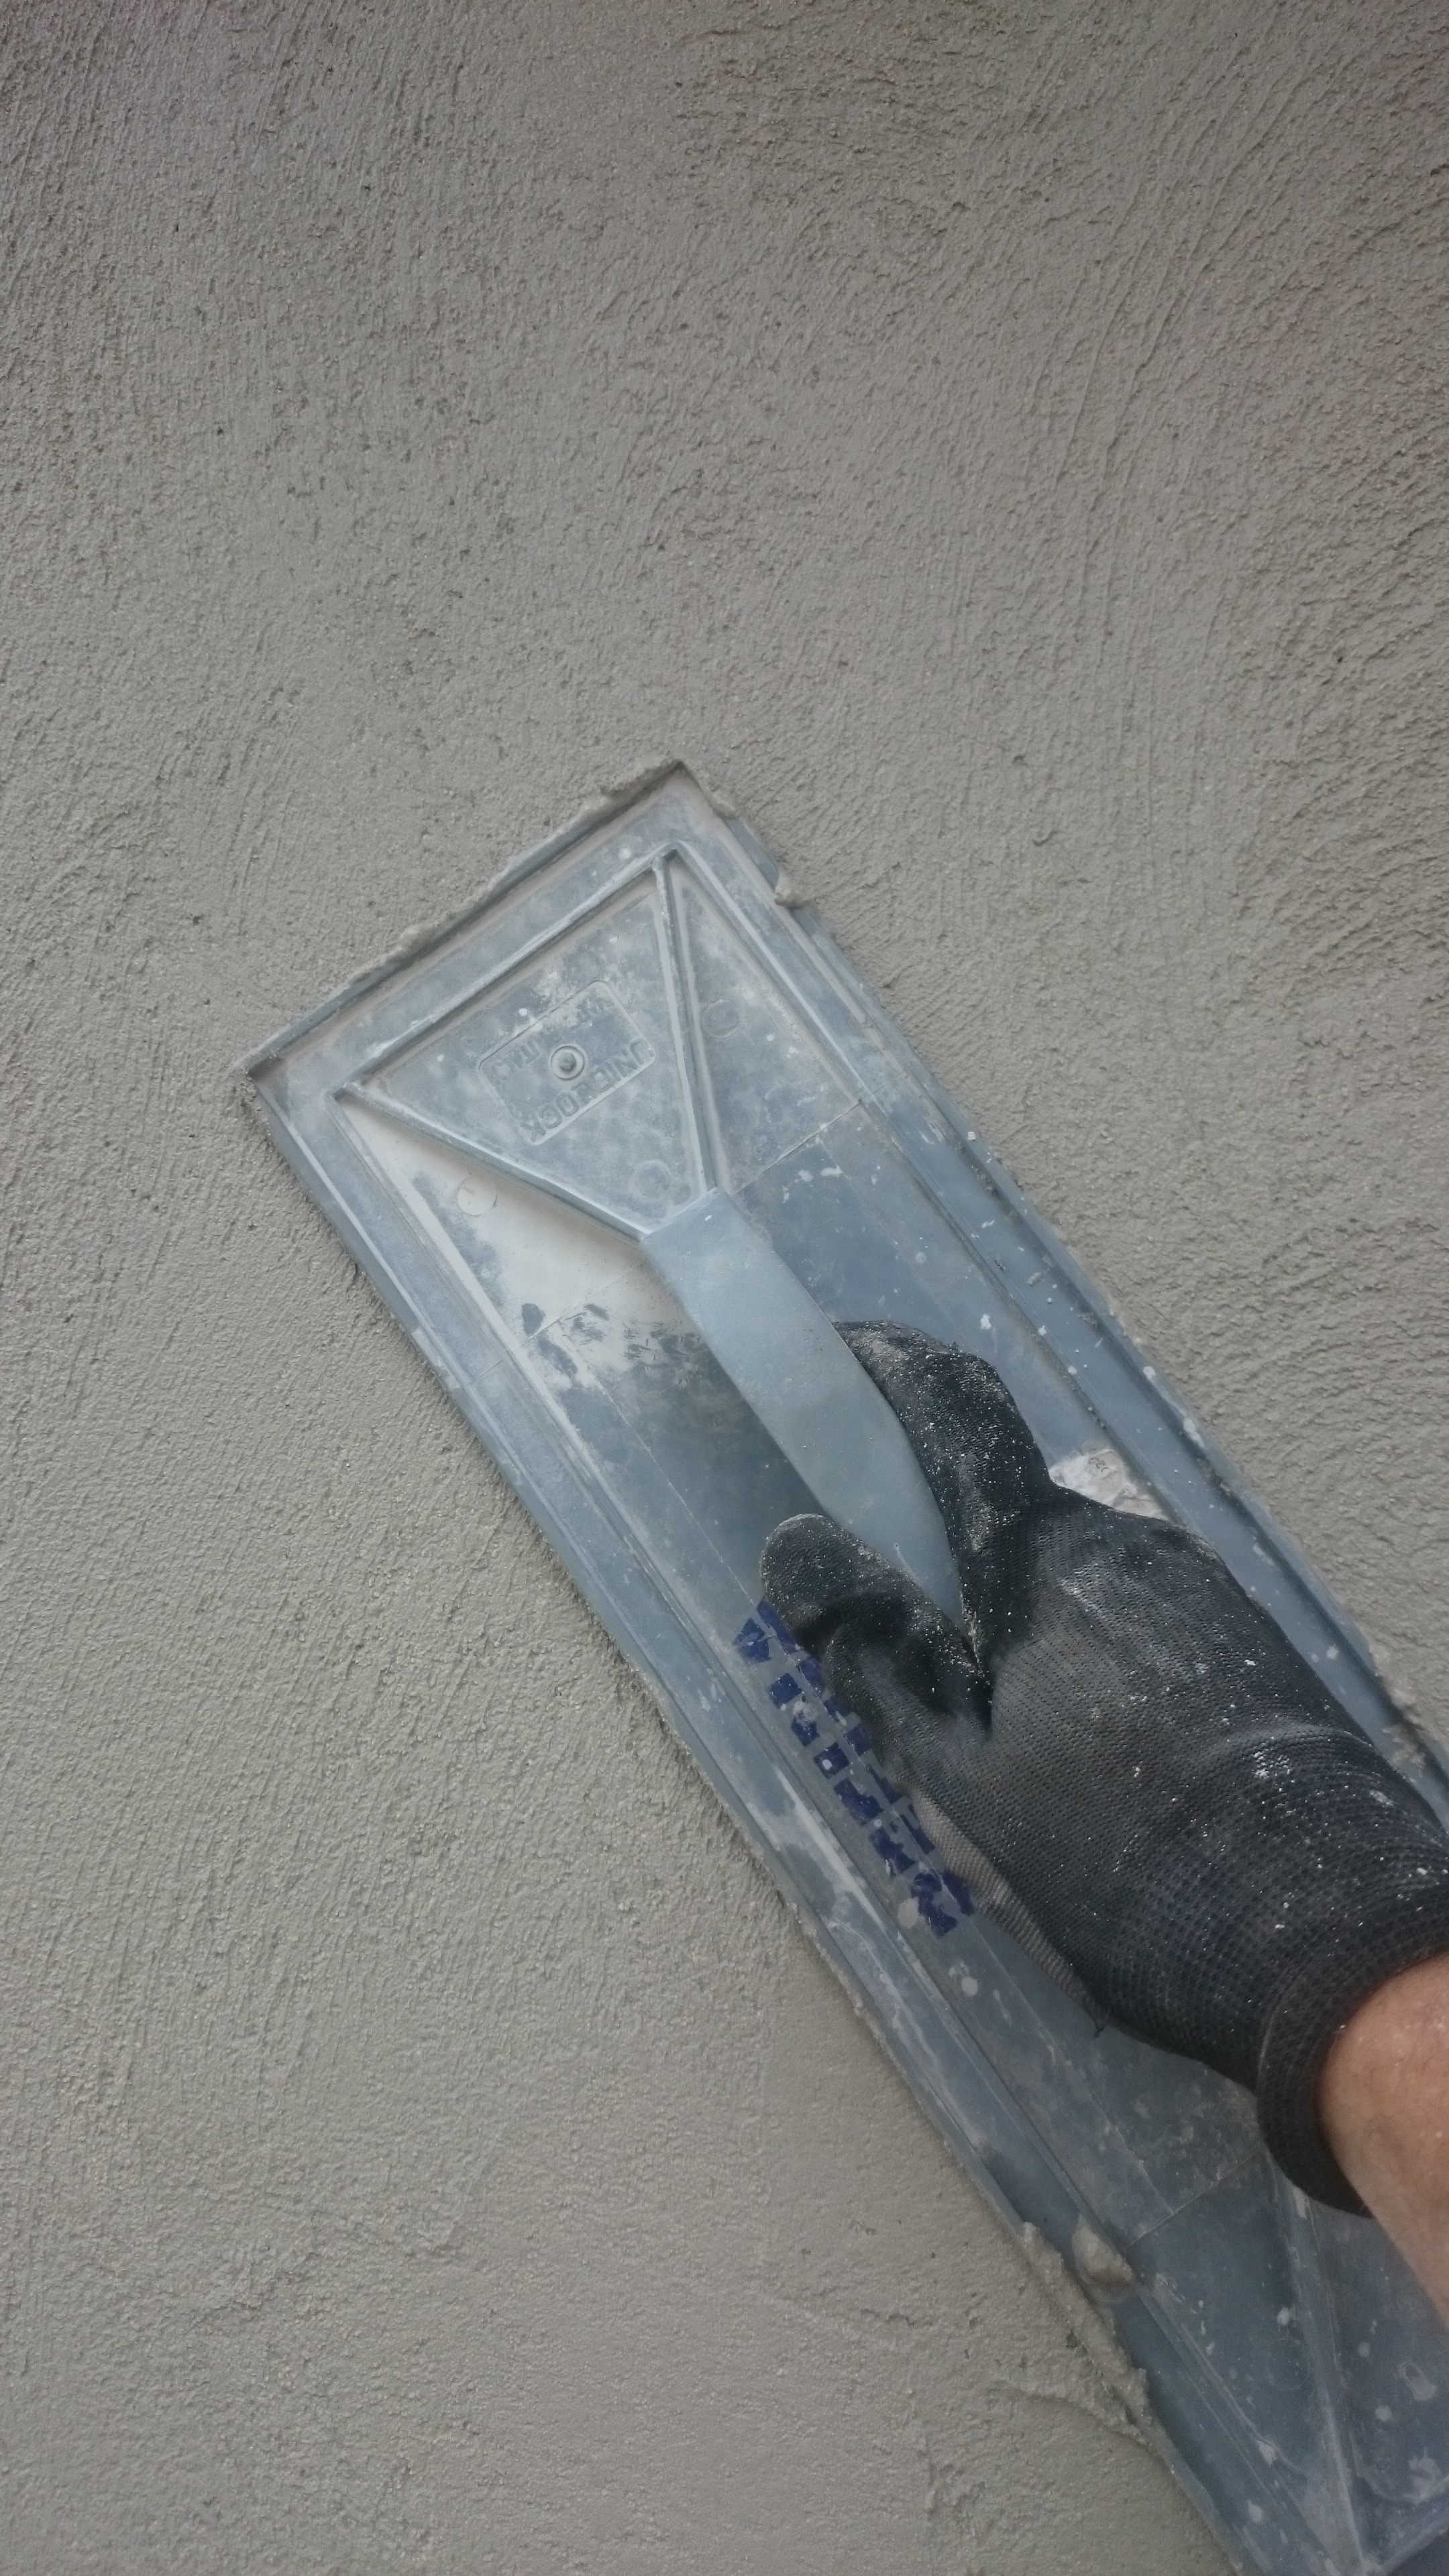
Once the area is all applied we find that it has picked up enough to go over it with a more flexible rendering spatula. Here we have a PFT stainless steel spatula with a flexible blade. I like to cut the render flat at this point by holding my spatula at 90 degree to the wet render and shaving any high spots and filling the low. The area after completing this stage will be very flat. It is important to not float the surface too early as you will inevitable start digging in and leaving not such a flat surface, leave it to long and you will leave the wall looking shiny. The float should just stick to the surface and leave a flat plain face with no bark effect. I like to use a ABS diamond faced float, it remains flat even as it wears down as do the corners.
By “spatting” the walls very flat minimum effort is needed to float the walls, we have even used just a medium sponge float and the wall has been perfect.
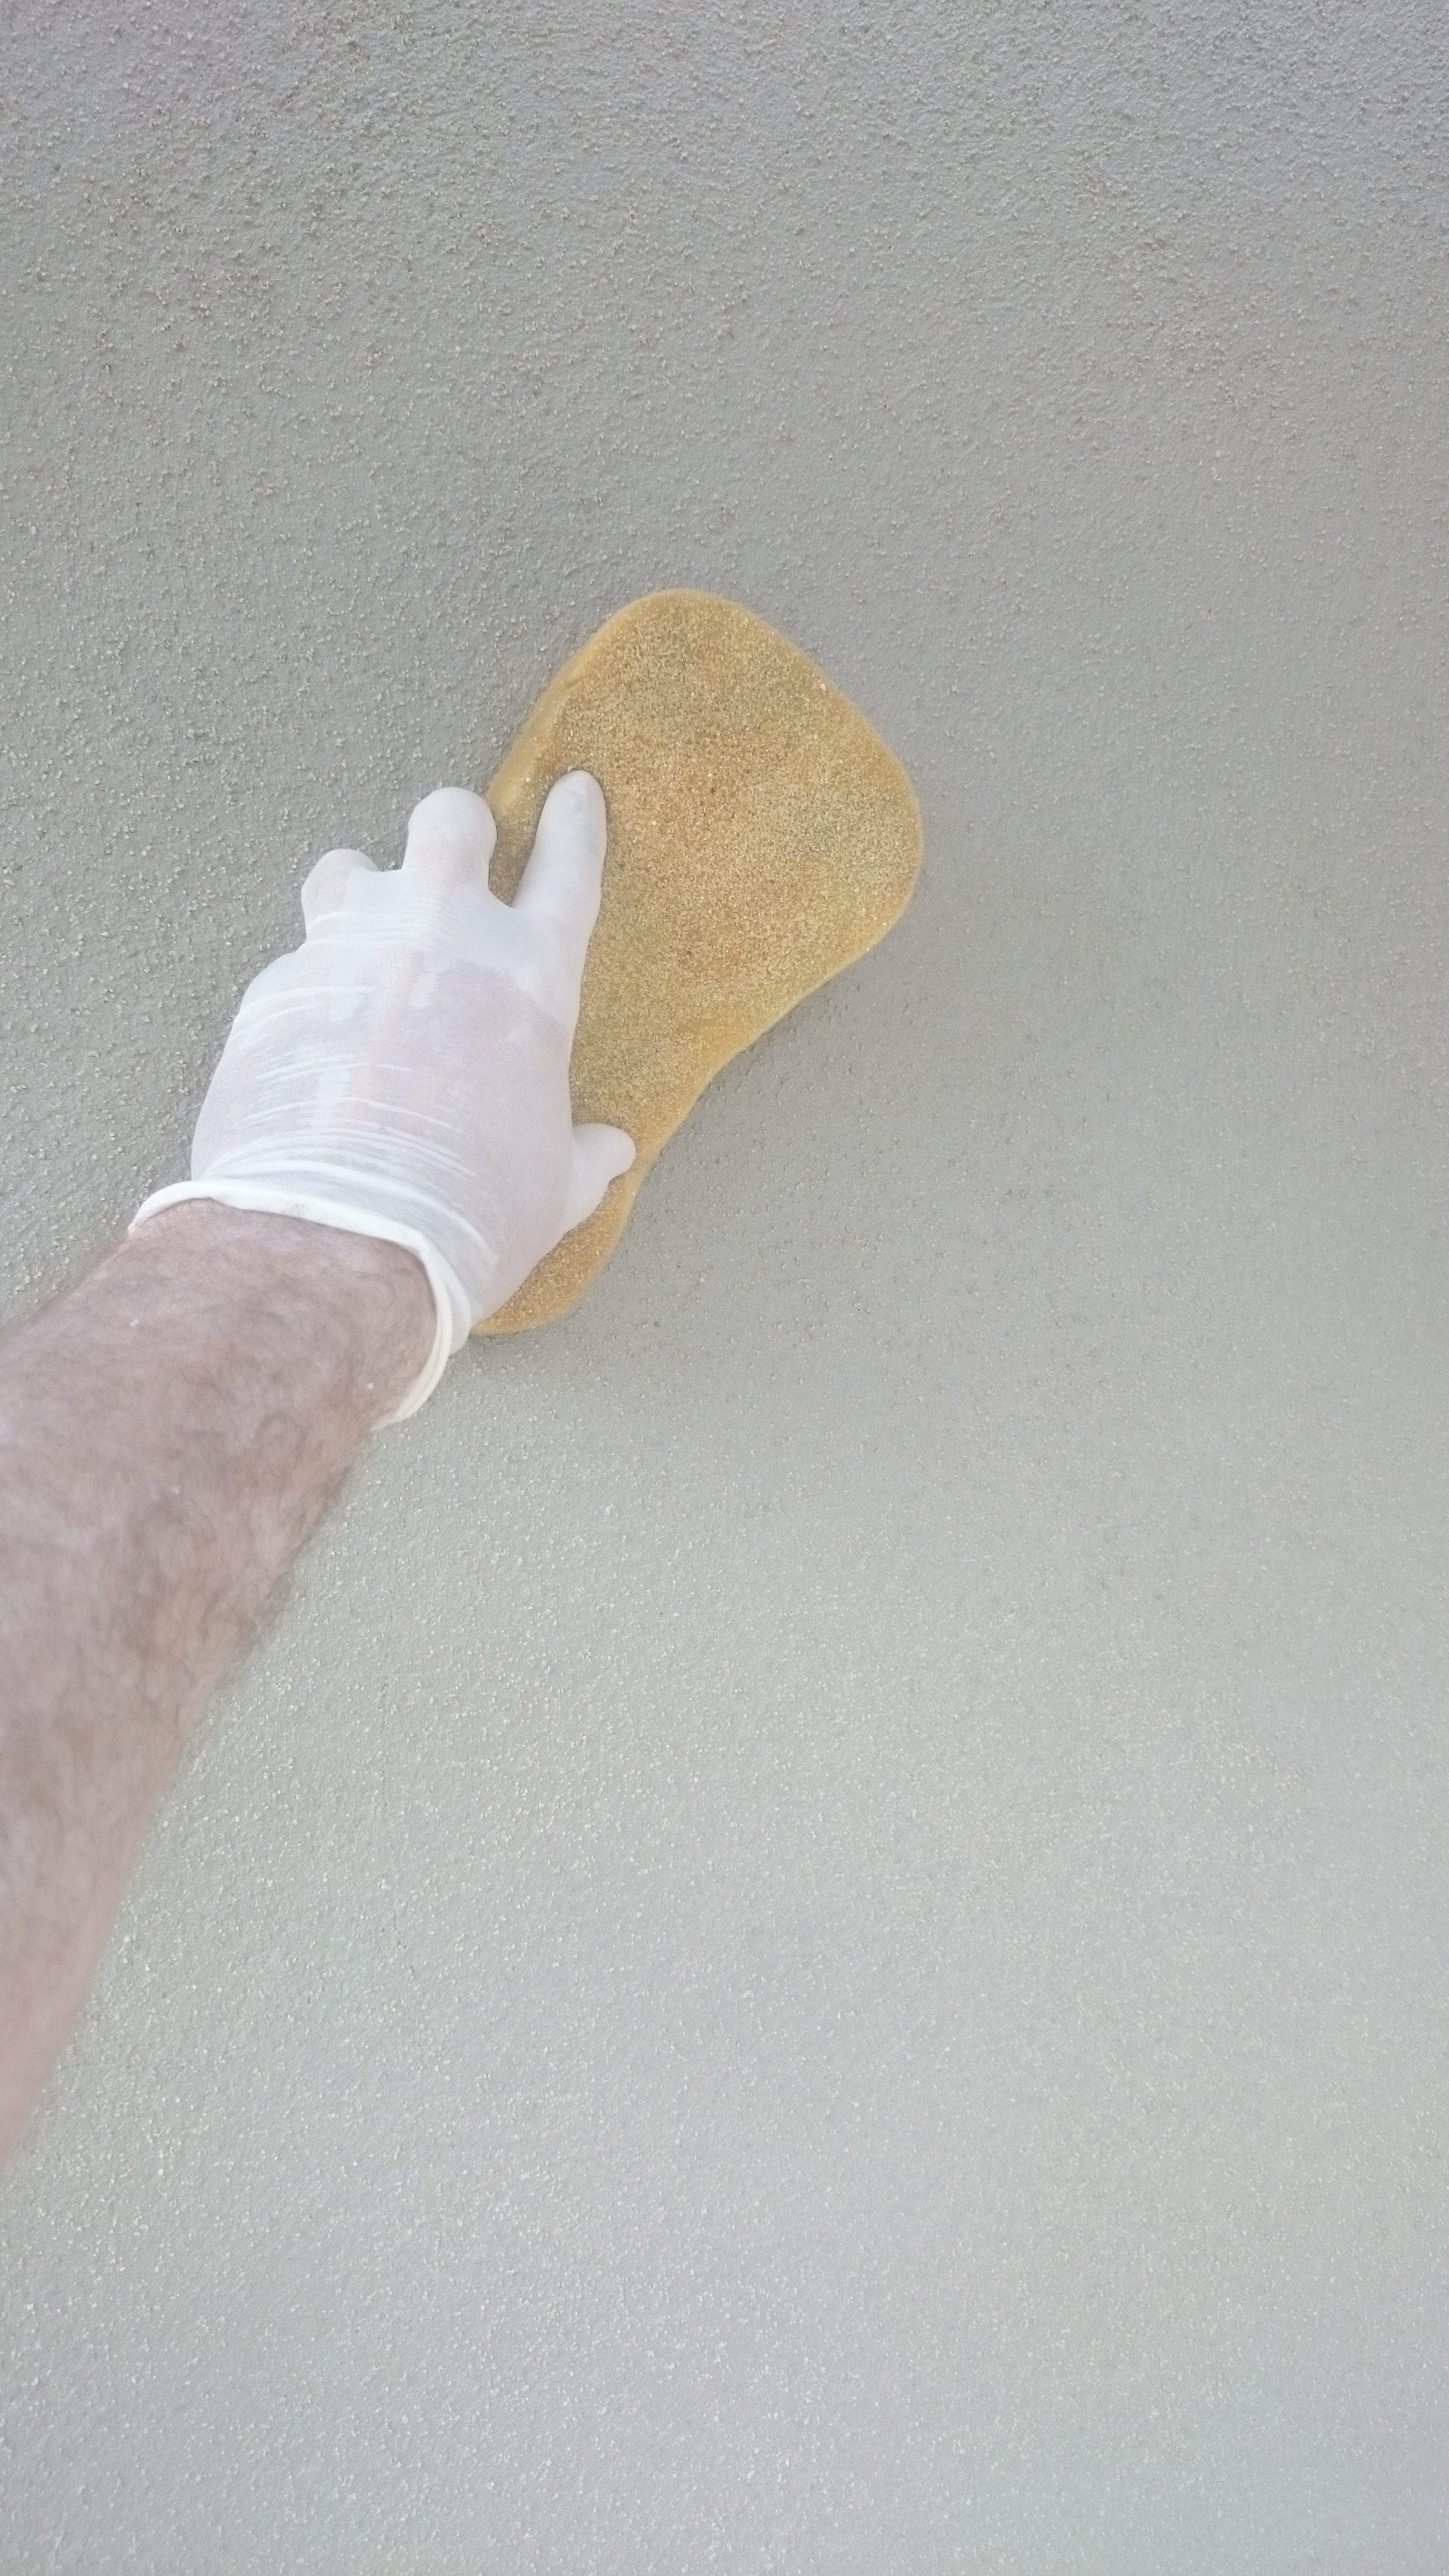
Krend GPM is quite grainy so a test area using a car sponge should put your mind at rest if you get concerned its not floating like traditional.
Water can be used when floating and helps make the mix more workable, this is not traditional site mix and so you won’t wash it out.
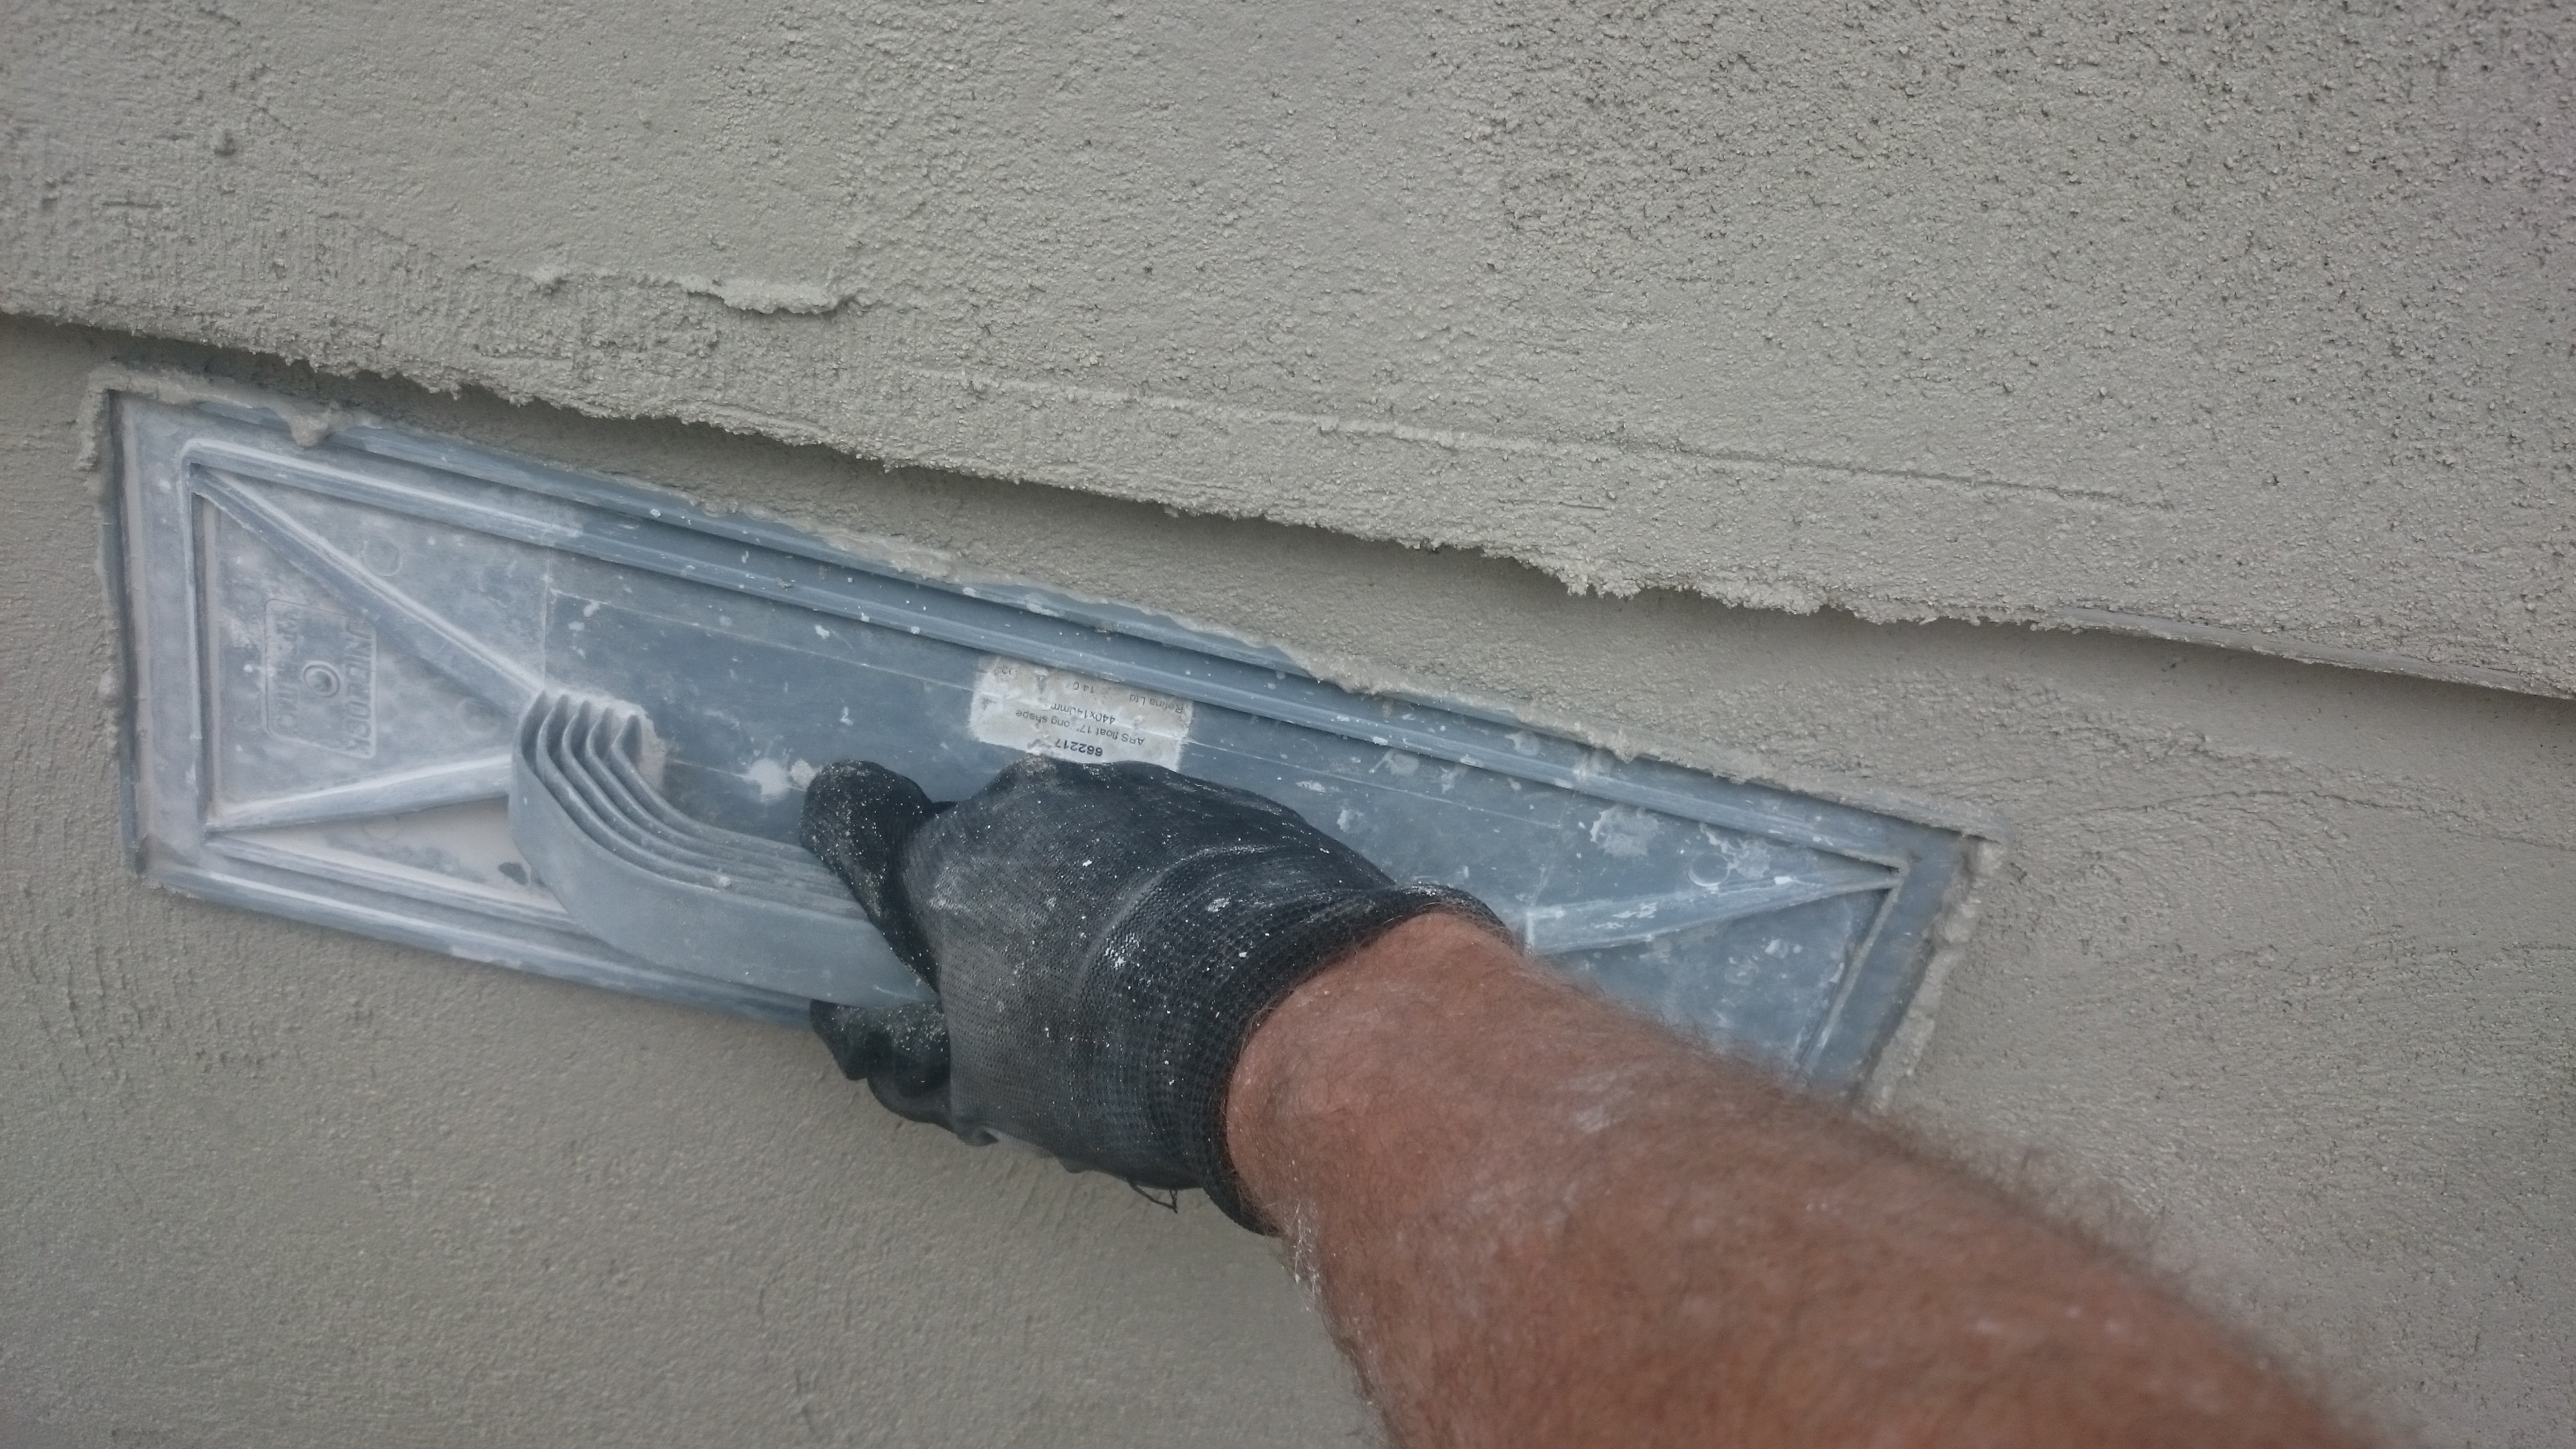
On larger areas it makes sense to use a power sponge. This tool can float the wall up in a very fast time and leaves a very uniform surface
After the floating is complete it is time to finish the wall with a fine car sponge. This leaves the final even grainy surface, when the sponge fills up and is not leaving the same finish,simply wash it out and start again.
We hope this helps you if you have a job coming up that you would like to use GPM and look out for further guides and helpful info in our latest news.
All tools and equipment is available from PFT Wales the plastering superstore.